

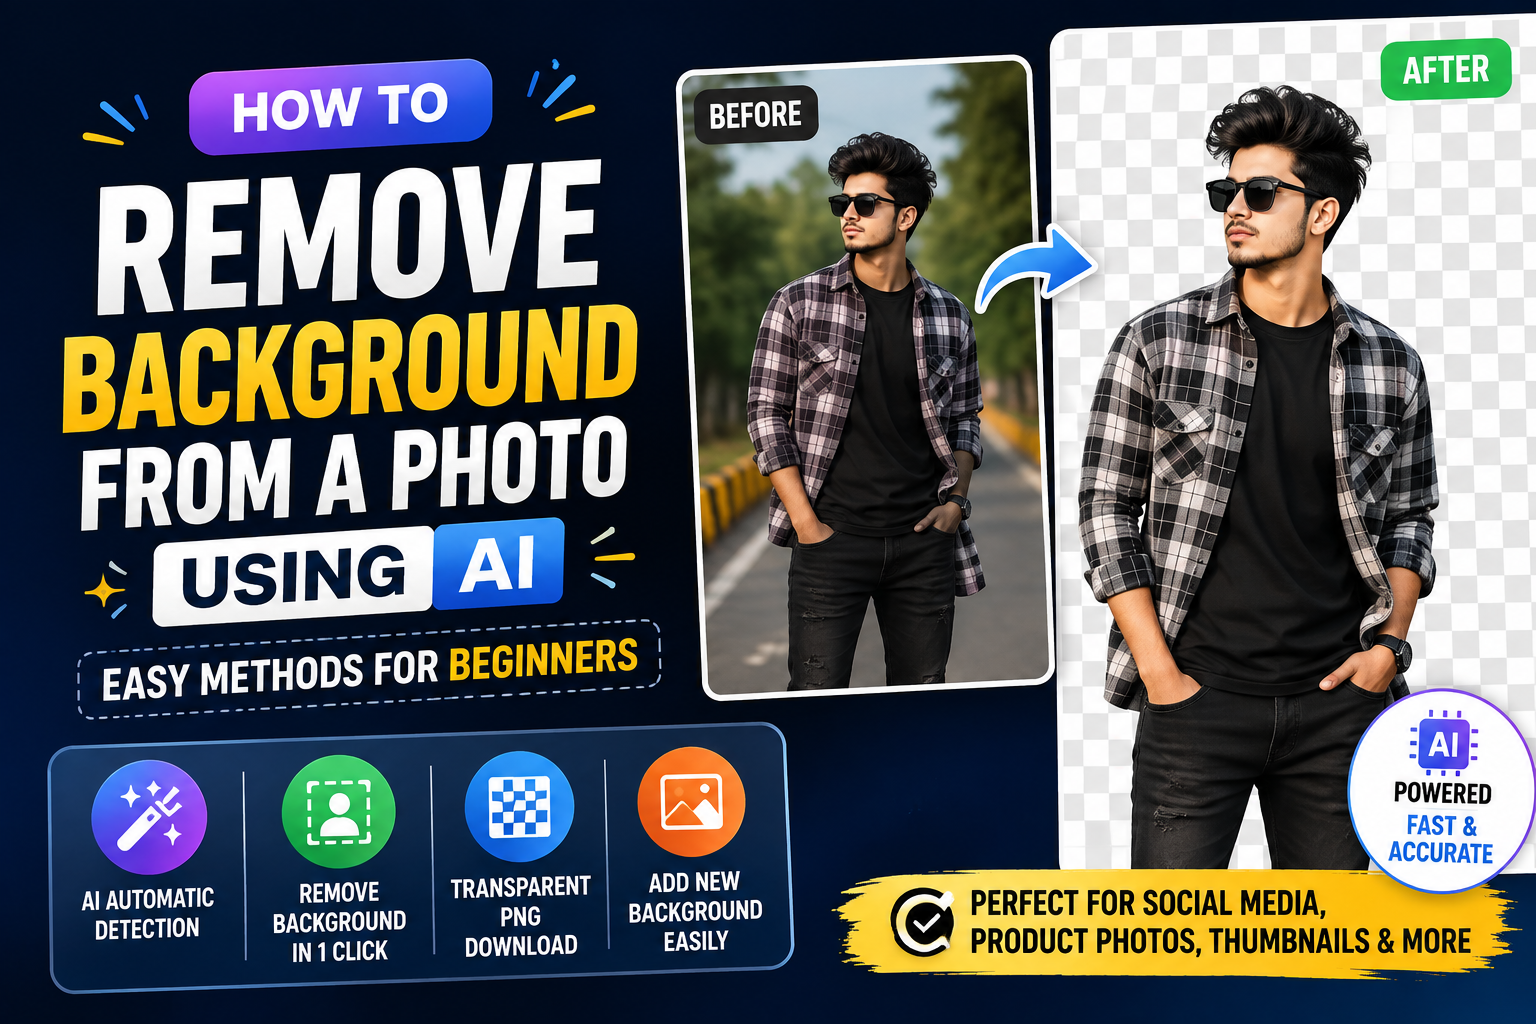
Removing the background from a photo used to require advanced photo-editing skills and software. You often had to carefully select the subject, erase unwanted areas and spend several minutes fixing rough edges.
Today, AI has made this process much simpler.
With an AI background remover, you can usually upload a photo, let the tool detect the main subject and remove the background automatically. This can be especially useful for product photos, profile pictures, social media posts, thumbnails and online listings.
In this guide, we’ll explain how to remove background from a photo using AI, which types of images work best, what to do when the result isn’t perfect and how to create a professional-looking image after removing the background.
What Is an AI Background Remover?
An AI background remover is a photo-editing tool that uses artificial intelligence to identify the main subject of an image and separate it from the background.
For example, if you upload a picture of a person standing outdoors, the AI can identify the person and remove the surrounding trees, buildings or other objects.
The result can usually be downloaded with a transparent background or placed on a new background, depending on the tool.
This is different from manually erasing a background because the AI does most of the selection work automatically.
Why Remove a Photo Background?
There are many reasons why someone might want to remove an image background.
Social Media Posts
Creators can remove the original background and place themselves in a more suitable design.
For example, you could take a portrait photographed at home and place the subject on a clean studio-style background.
Product Photos
Online sellers can remove distracting backgrounds from product images and create a cleaner presentation.
A simple background can make the product easier to see.
Profile Pictures
A transparent or clean background can make a profile photo look more professional.
You can also replace a busy background with a simple solid color.
YouTube Thumbnails
Removing a person from the original image makes it easier to create thumbnail designs with text, graphics and other visual elements.
Posters and Graphics
Designers can isolate people, objects or products and combine them with other elements to create promotional graphics.
How to Remove Background From a Photo Using AI
The process is generally straightforward, even if you have never used a professional photo editor.
Step 1: Choose a Good Photo
Start with a clear image.
A photo where the subject is easy to distinguish from the background will usually produce a better result.
For example, a person wearing a dark shirt against a light wall may be easier for an AI tool to separate than someone wearing clothing similar in color to the background.
Step 2: Upload the Image
Open an AI-powered background removal tool and upload your photo.
Most tools support common image formats such as JPG and PNG.
Depending on the service, you may also be able to upload images directly from your phone.
Step 3: Let the AI Detect the Subject
After uploading the image, the AI analyzes the photo and attempts to identify the main subject.
This process may take only a few seconds.
The tool then separates the subject from the background.
Step 4: Check the Edges
Don’t immediately download the result.
Zoom into areas such as:
- Hair
- Fingers
- Clothing edges
- Glasses
- Shoes
- Small objects
- Areas between arms and the body
These areas can sometimes be difficult for automated background removal systems.
Step 5: Fix Any Mistakes
Some AI editors provide tools for restoring or removing specific areas manually.
If the AI accidentally removes part of the subject, use the restore option.
If a small section of the original background remains, use the erase option if available.
Step 6: Download the Result
Once you’re satisfied with the result, export the image.
If you want to keep the background transparent, choose a format that supports transparency, such as PNG, when the tool provides that option.
How to Get Better AI Background Removal Results
AI tools are useful, but the original photo still matters.
Here are some simple ways to improve the result.
Use High-Quality Images
A sharp, high-resolution photo gives the AI more visual information to work with.
Avoid heavily compressed or blurry images whenever possible.
Avoid Extremely Busy Backgrounds
A simple background can make subject detection easier.
If the subject is surrounded by many objects with similar colors and shapes, the AI may have more difficulty determining where the subject ends.
Use Good Lighting
Well-lit subjects generally contain clearer details.
Very dark photos, strong shadows or extreme backlighting can sometimes make background separation more difficult.
Keep the Subject Clearly Visible
If part of the person or object is hidden behind another object, the AI may not correctly understand the complete shape.
A clearly visible subject usually gives you a cleaner starting point.
What If AI Removes Part of Your Hair?
Hair is one of the more challenging areas for automatic background removal.
Individual hair strands can be very thin and difficult to distinguish from the background.
If your editing tool offers manual refinement, zoom in around the hair and carefully restore missing areas.
For professional results, don’t worry if the first automatic result isn’t perfect. A small amount of manual correction can make a noticeable difference.
Can AI Remove Backgrounds From Group Photos?
Yes, AI can often process group photos, but the result depends on the image.
When several people are standing close together, their outlines may overlap. This can make it more difficult for the AI to separate every person cleanly.
For the best results, use a clear image where each person is reasonably visible.
If the tool allows you to select a specific subject, that option can also be useful.
Transparent Background vs New Background
After removing a background, you have two common choices.
Transparent Background
A transparent background is useful when you want to place the subject into another design.
For example, you could use a person cutout in:
- YouTube thumbnails
- Instagram graphics
- Posters
- Presentations
- Website banners
Replace the Background
Instead of leaving the image transparent, you can add a completely new background.
For example, a portrait can be placed against a studio, office, sunset or simple gradient background.
When replacing a background, pay attention to lighting. If the original subject has warm sunlight on one side of the face, a very different background may make the final image look unrealistic.
How to Make an AI-Edited Photo Look Realistic
Removing the background is only the first step.
If you’re placing the subject into a new scene, the lighting, shadows and perspective should also make sense.
Match the Lighting
The subject and background should appear to be illuminated from a similar direction.
Add a Natural Shadow
A subtle shadow can help the subject feel connected to the new environment.
Match the Perspective
If the background looks like it was photographed from a low angle but your subject was captured from eye level, the final composition may look unnatural.
Don’t Overedit
Adding too many effects can make a simple photo look artificial.
A clean composition often looks more professional than an image filled with unnecessary filters.
Best Uses for AI Background Removal
AI background removal can be useful for many different projects.
For creators:
Create thumbnails, social media graphics and profile images.
For online sellers:
Prepare cleaner product images for websites and marketplaces.
For students:
Create presentation graphics and project visuals.
For businesses:
Prepare promotional images and marketing materials.
For photographers:
Quickly isolate subjects before performing additional editing.
Is AI Background Removal Better Than Manual Editing?
It depends on the project.
For a simple portrait or product image, AI can save considerable time because it can perform the initial selection automatically.
Manual editing may still be preferable when you need extremely precise control over complicated edges.
The two methods can also work together.
A practical workflow is to let AI remove the background first and then manually correct small mistakes.
Common Mistakes to Avoid
Using a Low-Quality Image
If the original photo is blurry, the AI may struggle to identify fine details.
Ignoring Small Errors
A background removal may look perfect at first glance but contain unwanted pixels around hair, hands or clothing.
Always zoom in before exporting.
Choosing an Unrelated Background
A new background should match the subject’s lighting, perspective and overall style.
Overusing AI Effects
Background removal doesn’t automatically make a photo professional. Composition and editing still matter.
Forgetting Image Quality
Don’t repeatedly compress and save the same image. Multiple rounds of compression can reduce quality.
Frequently Asked Questions
Can I remove a photo background with AI on my phone?
Yes. Many AI photo-editing services work through mobile browsers or smartphone applications, so you don’t necessarily need a computer.
Does AI background removal always give perfect results?
No. AI can make mistakes, particularly around hair, transparent objects, thin objects and complicated backgrounds. Checking the edges and making small corrections can improve the result.
Can I make the background transparent?
Yes, if the editing service supports transparent PNG output. This allows you to place the subject on another design later.
Can AI remove the background from product photos?
Yes. Product images are one of the common use cases for background removal. A clear product photographed against a relatively simple background usually gives better results.
Is background removal useful for Instagram?
Yes. Creators can use isolated subjects to make thumbnails, carousel graphics, promotional posts, profile images and other visual content.
Final Thoughts
Learning how to remove background from a photo using AI can save a lot of time, especially for people who regularly create social media graphics, product images or marketing materials.
The process is simple: choose a clear photo, upload it to an AI background remover, review the result and correct any problem areas before exporting.
AI does most of the difficult selection work, but the final quality still depends on the original photo and your editing choices.
For the best results, focus on clean images, realistic lighting and careful edge checking rather than relying entirely on automatic editing.






