

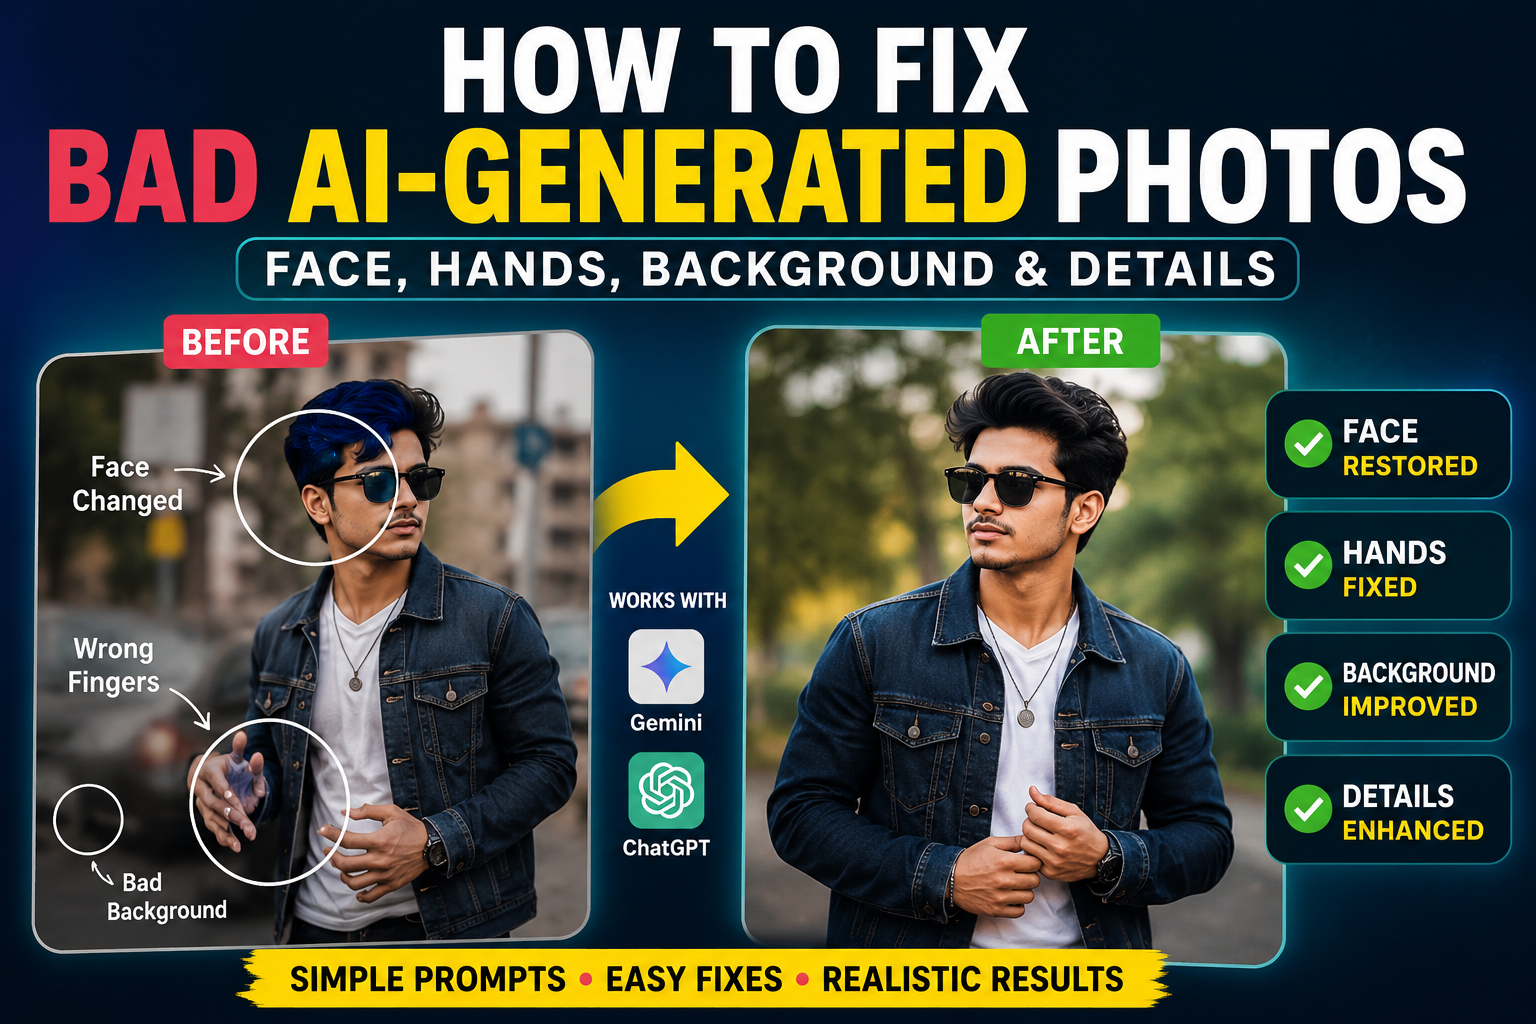
AI photo editing tools can create impressive images in just a few seconds, but the first result is not always perfect. Sometimes the face changes, hands look unnatural, clothes become distorted, or the background does not match the subject.
The good news is that you usually do not need to start again from scratch. With the right correction prompt and a few simple techniques, you can improve many common AI-generated photo problems.
In this guide, you will learn how to fix bad AI-generated photos, improve facial details, correct hands and fingers, repair backgrounds, maintain realistic lighting, and create better results using AI image editors such as Gemini and ChatGPT.
Why Do AI-Generated Photos Look Wrong?
AI image generators do not understand a photograph in exactly the same way a human does. They generate an image based on patterns, instructions, and the reference image.
Because of this, small details can sometimes change during editing.
Common problems include:
- Face looks different from the original
- Eyes are uneven or unnatural
- Hands have extra or missing fingers
- Fingers look distorted
- Clothes contain strange shapes
- Hair looks artificial
- Background objects become distorted
- Lighting does not match the subject
- Skin looks overly smooth
- Accessories change unexpectedly
- Body proportions look unnatural
- Text inside the image becomes incorrect
Instead of immediately generating a completely new image, you can use a targeted correction prompt.
1. How to Fix a Changed or Distorted Face
One of the most common AI editing problems is an unwanted change to the person’s face.
If the original photo is being used as a reference, clearly tell the AI that the person’s identity should remain unchanged.
Face Correction Prompt
Prompt:
Edit the generated image while preserving the person’s exact facial identity from the uploaded reference photo. Keep the original facial structure, eyes, eyebrows, nose, lips, jawline, skin tone and natural facial proportions unchanged. Do not redesign or beautify the face. Only correct the unwanted facial distortion and make the result look like a realistic photograph.
This type of instruction is more specific than simply saying “make the face realistic.”
If the Face Still Changes
Try making the correction more limited:
Keep the existing composition, clothing, pose and background unchanged. Only correct the facial distortion and restore the person’s natural appearance based on the uploaded reference image. Do not modify any other part of the image.
Limiting the requested changes can reduce unnecessary alterations.
2. How to Fix AI-Generated Eyes
Sometimes AI-generated eyes can look asymmetrical, overly sharp, blurry, or unnatural.
Instead of regenerating the entire image, ask the AI to correct only the eyes.
Eye Correction Prompt
Correct only the eyes in this image. Make both eyes naturally aligned and anatomically realistic while preserving the person’s original eye shape, eye color and facial identity. Keep the rest of the image unchanged.
Avoid asking the AI to completely redesign the face when only the eyes are problematic.
3. How to Fix Bad Hands and Fingers
Hands are another common problem in AI-generated images.
You may see:
- Extra fingers
- Missing fingers
- Bent fingers
- Fused fingers
- Unnatural hand positions
- Incorrect thumb placement
Hand Correction Prompt
Correct the hands and fingers only. Create anatomically realistic hands with the correct number of fingers, natural finger proportions and believable joints. Preserve the original pose, clothing, lighting and composition. Do not change the person’s face or body.
If only one hand is wrong, mention the exact hand.
For example:
Correct only the person’s right hand. Preserve the existing pose and composition while fixing the finger structure and proportions. Keep all other elements unchanged.
4. How to Fix Distorted Clothes
AI sometimes creates clothing with strange folds, duplicated buttons, incorrect patterns, or unrealistic fabric.
Clothing Correction Prompt
Correct the clothing details while preserving the original outfit design, color and overall style. Remove unnatural folds, duplicated elements and distorted fabric. Make the clothing look physically realistic with natural folds and texture. Keep the person’s face, pose and background unchanged.
This works particularly well when the overall image is already good and only the outfit needs correction.
5. How to Fix an Unnatural Background
Sometimes the person looks realistic but the background gives away that the image was AI-generated.
Common issues include:
- Bent buildings
- Random objects
- Distorted furniture
- Unrealistic architecture
- Repeated objects
- Incorrect perspective
Background Correction Prompt
Correct the background only. Preserve the person, face, clothing and pose exactly as they are. Reconstruct the background with realistic perspective, natural depth, consistent lighting and believable environmental details. Remove distorted or impossible objects.
The phrase “background only” helps make the requested editing area clear.
6. How to Fix Lighting Problems
A realistic image needs consistent lighting.
For example, the subject may have light coming from the left while the background appears illuminated from the right.
Lighting Correction Prompt
Correct the lighting and shadows to make the subject and environment look naturally photographed together. Match the direction, softness, intensity and color temperature of the light. Preserve the person’s facial identity, clothing and composition.
Do not ask the AI to make everything “brighter” if the real problem is inconsistent lighting.
7. How to Fix Unrealistic Skin
AI sometimes produces skin that looks excessively smooth or plastic.
A realistic portrait should retain natural skin texture.
Skin Correction Prompt
Make the skin look naturally photographed while preserving the person’s original skin tone and facial identity. Restore subtle natural skin texture and realistic pores without adding excessive wrinkles, blemishes or artificial sharpening. Avoid plastic-looking or overly smooth skin.
The goal should be natural, not “perfect” skin.
8. How to Fix Hair Problems
Hair can become blurry, duplicated, or disconnected from the head after AI editing.
Hair Correction Prompt
Correct the hair while preserving the original hairstyle and overall appearance. Make individual strands, hair volume and edges look naturally integrated with the head and surrounding environment. Remove duplicated or distorted hair elements without changing the person’s identity.
For portrait images, pay particular attention to the hairline and edges around the face.
9. How to Fix an AI Photo Without Changing Everything Else
This is one of the most useful techniques.
If 90% of your image already looks good, do not ask the AI to regenerate the entire image.
Instead, identify the exact problem.
For example:
Bad instruction
Make this photo better.
This is too vague.
Better instruction
Keep the entire image unchanged. Only correct the distorted left hand and make the fingers anatomically realistic. Preserve the face, hairstyle, clothing, background, lighting, camera angle and composition.
The second prompt gives the AI a much narrower task.
10. Use the “Preserve Everything Else” Technique
When making corrections, mention the elements that should not change.
A useful structure is:
Correct X + preserve Y + maintain Z.
For example:
Correct the facial distortion while preserving the person’s exact identity. Keep the hairstyle, clothing, pose, background, camera angle and lighting unchanged.
This approach is especially useful when the generated image is already close to the desired result.
11. How to Fix Multiple Problems
Sometimes an image has several problems at once.
For example:
- Face is slightly distorted
- One hand is incorrect
- Background has strange objects
Instead of asking for ten changes at once, fix the most important problem first.
Recommended workflow
Step 1: Fix the face.
Step 2: Check the hands.
Step 3: Fix clothing.
Step 4: Correct the background.
Step 5: Adjust lighting.
Step 6: Check small details.
This gives you more control over the final image.
12. Universal AI Photo Correction Prompt
If you want a general correction prompt, try this:
Analyze the uploaded AI-generated image carefully and identify visible realism problems. Correct only the obvious visual defects while preserving the person’s identity, facial structure, hairstyle, clothing, pose and overall composition. Fix distorted facial features, unnatural hands or fingers, unrealistic objects, incorrect proportions and inconsistent lighting where necessary. Maintain natural skin texture, realistic shadows, believable perspective and photographic detail. Do not unnecessarily redesign the image or change elements that already look correct. The final result should look like a natural, professionally photographed image rather than an AI-generated picture.
13. Gemini vs ChatGPT for Photo Corrections
Both Gemini and ChatGPT can be useful for AI image editing, but the result can depend heavily on the image, prompt and editing task.
For either tool, avoid vague instructions.
Instead of:
Fix this image.
Try:
Keep the image unchanged except for the distorted right hand. Correct the fingers and hand anatomy while preserving the original pose, clothing, lighting and background.
Specific instructions make it easier to communicate exactly what you want to change.
14. Common Mistakes to Avoid
Mistake 1: Changing everything at once
If you ask the AI to change the face, clothes, background, pose, lighting and camera angle simultaneously, it may introduce new errors.
Mistake 2: Using very short prompts
“Make it realistic” does not explain what needs to be fixed.
Mistake 3: Ignoring the reference photo
When maintaining a person’s identity is important, clearly tell the AI to use the uploaded image as the identity reference.
Mistake 4: Regenerating a good image unnecessarily
If only one detail is wrong, make a targeted correction instead.
Mistake 5: Over-editing
Too many correction rounds can gradually change parts of the image that were originally correct.
15. Best Workflow for Better AI Photo Results
A simple workflow can save a lot of time:
Upload the best-quality reference photo
↓
Create the first AI edit
↓
Inspect the face, hands, clothing and background
↓
Identify the biggest problem
↓
Write a targeted correction prompt
↓
Generate the correction
↓
Check the result again
↓
Repeat only when necessary
This approach gives you much more control than repeatedly generating random versions.
Frequently Asked Questions
Why does AI change my face when editing a photo?
AI may reinterpret facial features while generating the edited image. Using a clear identity-preservation instruction and limiting the requested changes can help reduce unwanted facial changes.
How can I fix AI hands and fingers?
Ask the AI to correct the hands specifically and request anatomically realistic fingers while preserving the existing pose and composition.
Can AI fix an already generated image?
Yes. Many AI image-editing workflows allow you to use an existing generated image as the starting point for another correction.
Why does my AI photo look too smooth?
AI can sometimes remove natural skin texture. Ask for realistic skin texture and natural pores while avoiding excessive smoothing or artificial sharpening.
How do I stop AI from changing the whole photo?
Clearly specify what should be changed and what must remain unchanged. A targeted editing instruction is generally better than asking the AI to regenerate the entire image.
Final Thoughts
A bad AI-generated photo does not always need to be discarded.
In many cases, the image may already have a good composition, lighting or overall style, with only one or two details causing problems. Instead of starting over, identify the specific issue and use a targeted correction prompt.
The most important rule is simple: tell the AI exactly what to fix and clearly describe what should remain unchanged.
With this workflow, you can improve faces, hands, clothing, backgrounds, lighting and other details while keeping more of the original image intact.






