

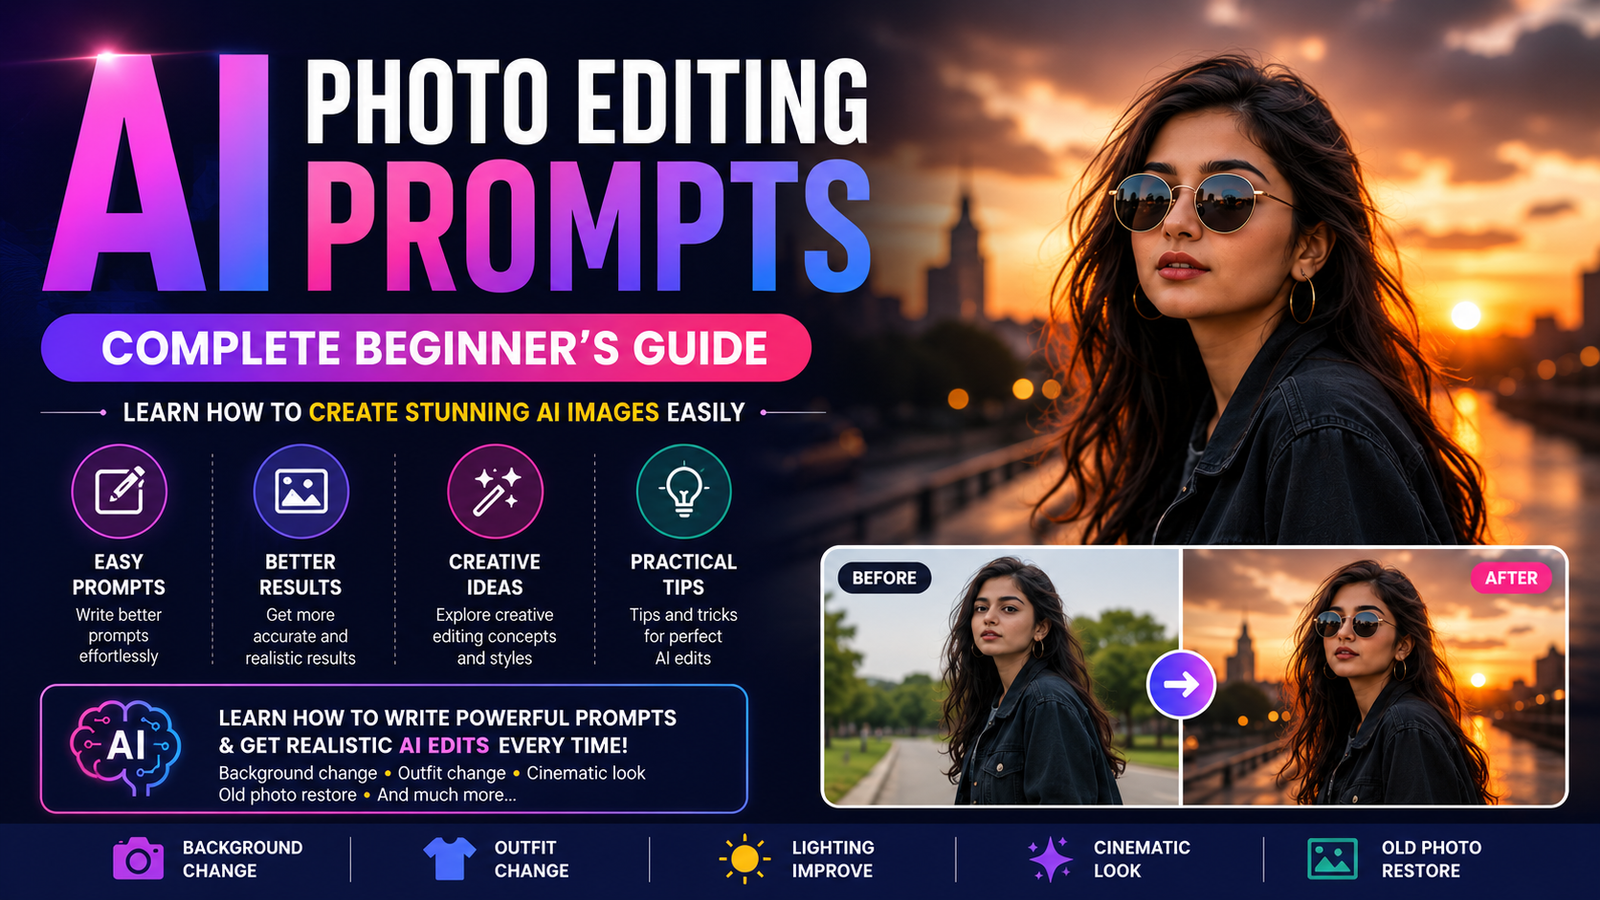
AI photo editing has changed the way people create and improve images. Tasks that once required advanced Photoshop skills can now be done with AI tools by describing the desired result in natural language.
However, getting a good result is not simply about writing a long prompt. A useful AI photo editing prompt should clearly explain what needs to change, what should remain unchanged, the desired visual style, lighting, composition, and overall result.
In this guide, you will learn how AI photo editing prompts work, how to structure them, how to improve weak prompts, and how to create your own prompts for different editing situations.
What Is an AI Photo Editing Prompt?
An AI photo editing prompt is a written instruction that tells an AI image tool how you want an existing image to be changed or enhanced.
For example, instead of simply writing:
“Change the background.”
You can provide more useful instructions:
“Replace the existing background with a clean modern city street during golden hour. Keep the person’s face, hairstyle, body proportions and clothing unchanged. Use realistic natural lighting and maintain the original camera perspective.”
The second instruction gives the AI much more information about the desired result.
A prompt can be short for a simple edit or more detailed when several parts of an image need to be changed.
Why Does Prompt Quality Matter?
AI image tools interpret your instructions based on the information you provide. If the prompt is vague, the tool has to make more assumptions.
For example:
Basic prompt:
“Make my photo cinematic.”
This leaves many questions unanswered.
What type of cinematic look?
What lighting?
What background?
What colors?
What camera perspective?
What should happen to the subject?
A more specific prompt could be:
“Give the portrait a cinematic photography look with soft directional lighting, subtle contrast, realistic skin texture, a slightly blurred background and natural depth of field. Preserve the subject’s facial features and clothing.”
This provides a clearer creative direction.
The Basic Structure of a Good AI Editing Prompt
A practical prompt can usually be divided into several parts:
- Subject
- Requested edit
- Appearance
- Background
- Lighting
- Composition
- Style
- Important elements to preserve
You don’t always need every section, but this structure makes it easier to write consistent prompts.
1. Describe the Subject
Start by identifying what the AI should focus on.
Examples:
- a portrait of a young man
- a woman standing outdoors
- a couple posing together
- a product photographed on a table
- an old family photograph
For example:
“Edit the provided portrait of a person standing outdoors.”
If you are using a reference image, it can also help to tell the AI which characteristics should remain consistent.
2. Clearly Explain the Requested Edit
The most important part of the prompt is the actual change you want.
Examples include:
- replacing the background
- changing clothing
- improving lighting
- restoring an old photograph
- creating a different atmosphere
- changing the environment
- adding a specific visual effect
- improving image quality
Instead of:
“Change clothes.”
Try:
“Replace the existing outfit with a modern black oversized jacket, plain white T-shirt and relaxed-fit trousers while keeping the person’s body proportions and pose natural.”
The instruction becomes much easier to interpret.
3. Describe Appearance and Details
If the appearance of an object or outfit matters, explain it.
For clothing, you can mention:
- color
- material
- fit
- style
- accessories
- footwear
For example:
“Change the outfit to a beige oversized hoodie, straight-fit dark trousers and clean white sneakers.”
For an object:
“Change the phone case to a minimal matte black case with a simple texture.”
Specific details help reduce unwanted changes.
4. Explain the Background
Background instructions can dramatically change the appearance of an image.
You can describe:
- location
- time of day
- environment
- colors
- depth
- objects in the background
- amount of blur
For example:
“Place the subject in a modern urban street with subtle storefront lights and a softly blurred background.”
Or:
“Replace the background with a quiet beach during sunset, keeping the horizon natural and the environment photorealistic.”
5. Add Lighting Instructions
Lighting is especially important for realistic AI images.
Useful terms include:
- soft natural light
- golden-hour lighting
- studio lighting
- dramatic side lighting
- diffused light
- soft shadows
- rim lighting
- low-key lighting
For example:
“Use soft golden-hour lighting coming from the side, with natural highlights and realistic shadows.”
The goal is not to add every lighting term you know. Choose the one that matches the image you want.
6. Specify Composition
Composition tells the AI how the image should be framed.
You can describe:
- close-up portrait
- waist-up portrait
- full-body composition
- centered subject
- three-quarter view
- wide environmental portrait
- shallow depth of field
For example:
“Keep the subject centered in a full-body composition with enough space around the person and a natural camera perspective.”
This can be particularly useful when creating social-media images.
7. Choose a Visual Style
Style determines the overall appearance of the finished image.
Examples:
- realistic photography
- editorial fashion photography
- cinematic portrait
- minimalist studio photography
- vintage photography
- street photography
- luxury editorial style
For example:
“Use a realistic editorial fashion photography style with natural skin texture and subtle contrast.”
Avoid combining too many unrelated styles. A prompt containing contradictory instructions can produce unpredictable results.
8. Tell the AI What to Preserve
This is one of the most useful parts of an editing prompt.
When editing an existing photograph, you may want certain elements to stay unchanged.
You can specify:
- facial features
- hairstyle
- identity
- pose
- body proportions
- clothing
- skin texture
- image perspective
For example:
“Keep the person’s facial features, hairstyle, expression, body proportions and pose unchanged.”
This is particularly helpful when the main purpose of the edit is to change the environment rather than the person.
A Reusable AI Photo Editing Prompt Formula
You can use this basic structure when creating your own prompts:
Edit the provided image of [subject]. Change [specific element] to [desired result]. Keep [important elements] unchanged. Use [lighting] with [background/environment]. Maintain [composition/camera perspective]. Create a [visual style] appearance with realistic details, natural textures and consistent proportions.
For example:
“Edit the provided portrait of a person standing outdoors. Replace the background with a modern city street at sunset. Keep the facial features, hairstyle, expression, clothing and body proportions unchanged. Use warm natural golden-hour lighting with soft shadows and realistic reflections. Maintain the original camera perspective and create a realistic cinematic photography appearance.”
This formula can be adapted for many different types of edits.
AI Photo Editing Prompt Examples
Background Replacement Prompt
Edit the provided portrait by replacing the existing background with a modern rooftop overlooking a city at sunset. Keep the person’s facial features, hairstyle, expression, clothing and body proportions unchanged. Use warm golden-hour lighting, realistic shadows and natural depth of field. Make the new background blend naturally with the subject and maintain realistic photographic details.
Outfit Change Prompt
Edit the provided photo and replace the existing outfit with a modern casual streetwear outfit consisting of an oversized neutral-colored jacket, plain T-shirt, relaxed trousers and clean sneakers. Keep the person’s face, hairstyle, pose and body proportions unchanged. Make the clothing folds, shadows and textures realistic and consistent with the original lighting.
Cinematic Portrait Prompt
Transform the provided portrait into a realistic cinematic photograph. Keep the subject’s facial features, hairstyle, expression and clothing unchanged. Add soft directional lighting, subtle contrast, realistic skin texture, shallow depth of field and a softly blurred urban background. Maintain natural proportions and avoid excessive artificial effects.
Old Photo Restoration Prompt
Restore the provided old photograph while preserving the original people, facial features, expressions and composition. Remove visible scratches, dust, fading and minor damage. Improve clarity and tonal balance while keeping the image historically natural. Avoid changing identities, facial structure or important details that were present in the original photograph.
How to Improve a Weak Prompt
One of the easiest ways to become better at prompt writing is to improve vague instructions.
Weak:
“Make this photo look professional.”
Better:
“Enhance the provided portrait with realistic studio-style lighting, balanced exposure, natural skin texture, subtle background blur and clean professional photography aesthetics while preserving the subject’s facial features.”
Weak:
“Put me in a luxury car.”
Better:
“Place the subject naturally inside the driver’s seat of a modern luxury sedan with a realistic premium interior. Maintain the subject’s face, hairstyle, clothing and body proportions. Match the lighting on the subject with the interior environment and maintain realistic reflections and perspective.”
The second version describes what should happen and how the result should look.
Why AI Sometimes Changes the Face
When editing photographs, users often notice that the person’s face changes unexpectedly.
This can happen because the AI is generating or reconstructing parts of the image instead of making a simple pixel-level edit.
To reduce unnecessary changes, clearly state what must remain unchanged.
For example:
“Preserve the subject’s facial structure, eyes, nose, lips, hairstyle and overall identity. Do not redesign or alter the face.”
However, results still depend on the specific AI model and editing mode being used.
How to Get More Realistic Results
A realistic result usually requires consistency between different parts of the prompt.
For example, if you describe:
- sunset lighting
- bright studio shadows
- a nighttime environment
at the same time, the instructions can conflict.
Instead, make the lighting, environment and style work together.
Good combination:
“Outdoor sunset environment with warm directional sunlight, soft shadows and natural skin highlights.”
Everything supports the same visual situation.
Don’t Make Every Prompt Extremely Long
A common misconception is that longer prompts always produce better images.
That’s not necessarily true.
A useful prompt should contain relevant information, not unnecessary words.
Compare:
“Create an extremely beautiful, highly amazing, incredibly realistic, fantastic, professional, stunning cinematic image…”
with:
“Create a realistic cinematic portrait with soft directional lighting, natural skin texture, shallow depth of field and subtle contrast.”
The second prompt is more precise despite being shorter.
Use Negative Instructions Carefully
Some AI tools support negative prompts or instructions describing unwanted results.
Examples:
- avoid distorted hands
- avoid unnatural facial features
- avoid excessive smoothing
- avoid unrealistic skin texture
- avoid duplicated objects
- avoid warped clothing
For example:
“Avoid distorted hands, unnatural facial features, excessive skin smoothing, duplicated objects and unrealistic proportions.”
Not every AI tool handles negative prompts in exactly the same way, so their effectiveness can vary.
Use Reference Images Correctly
When an AI tool supports image references, the source image can provide important visual information.
Before editing, decide what you want the AI to preserve.
For example:
“Use the provided image as the primary reference. Preserve the subject’s facial appearance, hairstyle, pose and body proportions while changing only the environment.”
This makes the intended editing boundary clearer.
Always check the privacy policy and image-handling practices of an AI service before uploading personal photographs.
Common AI Prompt Mistakes
1. Being Too Vague
A prompt like:
“Make it better.”
doesn’t provide enough direction.
Explain what better means.
2. Adding Contradictory Instructions
For example:
“Create a dark night scene with bright midday sunlight.”
Unless this is intentional, the instructions conflict.
3. Changing Too Many Things at Once
If you simultaneously request a new face, outfit, location, pose, lighting and camera angle, the AI may produce unexpected results.
For difficult edits, consider making the changes in stages when the tool allows it.
4. Ignoring the Original Lighting
A new background with completely different lighting can make the edited image look artificial.
Tell the AI to match the subject’s lighting with the new environment.
5. Forgetting Image Composition
Simply describing an object isn’t always enough.
If framing matters, mention whether you want a close-up, waist-up, full-body or wider composition.
A Simple Workflow for Creating AI Edits
You can follow this workflow whenever you want to create a new edit.
Step 1: Decide the main change
Ask yourself:
What exactly do I want to change?
For example:
Background.
Step 2: Identify what should stay
For example:
Face, hairstyle, clothing and pose.
Step 3: Describe the new environment
For example:
Modern city street at sunset.
Step 4: Add lighting
For example:
Warm golden-hour light.
Step 5: Choose the style
For example:
Realistic cinematic photography.
Step 6: Check for contradictions
Make sure the instructions don’t conflict.
Step 7: Generate and evaluate
Look at the result and identify what went wrong.
Step 8: Refine only the problem
If the background is good but the clothing changed, don’t rewrite everything. Add a more specific instruction about preserving the clothing.
This iterative approach can often be more effective than continuously making the entire prompt longer.
How to Create Your Own Prompt Library
If you frequently create AI images, maintaining a personal prompt library can save time.
You can organize prompts into categories such as:
- Portraits
- Background Changes
- Outfit Changes
- Cinematic Edits
- Instagram Photos
- Fashion Photography
- Old Photo Restoration
- Product Images
- Travel Photography
- Social Media Concepts
For each prompt, keep a short note explaining:
Purpose: What the prompt does
Reference: Whether an image is required
Main edit: What changes
Preserve: What should remain unchanged
Best use: Where the final image works well
This makes it much easier to reuse and improve prompts over time.
Final Checklist Before Using an AI Photo Editing Prompt
Before submitting a prompt, check these points:
- Is the main subject clearly described?
- Is the requested edit specific?
- Have you explained what should remain unchanged?
- Is the background clear?
- Does the lighting match the environment?
- Is the desired composition specified?
- Is the visual style appropriate?
- Are there contradictory instructions?
- Are unnecessary details making the prompt confusing?
- Does the prompt match the capabilities of the AI tool you’re using?
If the answer to most of these questions is yes, your prompt has a much clearer editing direction.
Conclusion
Writing effective AI photo editing prompts is less about using complicated words and more about communicating a clear visual goal.
Start with the subject and the main change, explain the important visual details, specify what should remain unchanged, and make sure the lighting, background and style work together.
You also don’t need to create a completely new prompt every time. Once you understand the basic structure, you can create reusable templates and modify them for different photographs and creative ideas.
The most important thing is to experiment. Different AI image tools can interpret the same instruction differently, so testing, evaluating and refining your prompts is a normal part of the creative process.
A good AI photo editing prompt doesn’t simply tell an AI what to generate—it gives it enough useful context to understand the image you are trying to create.






