

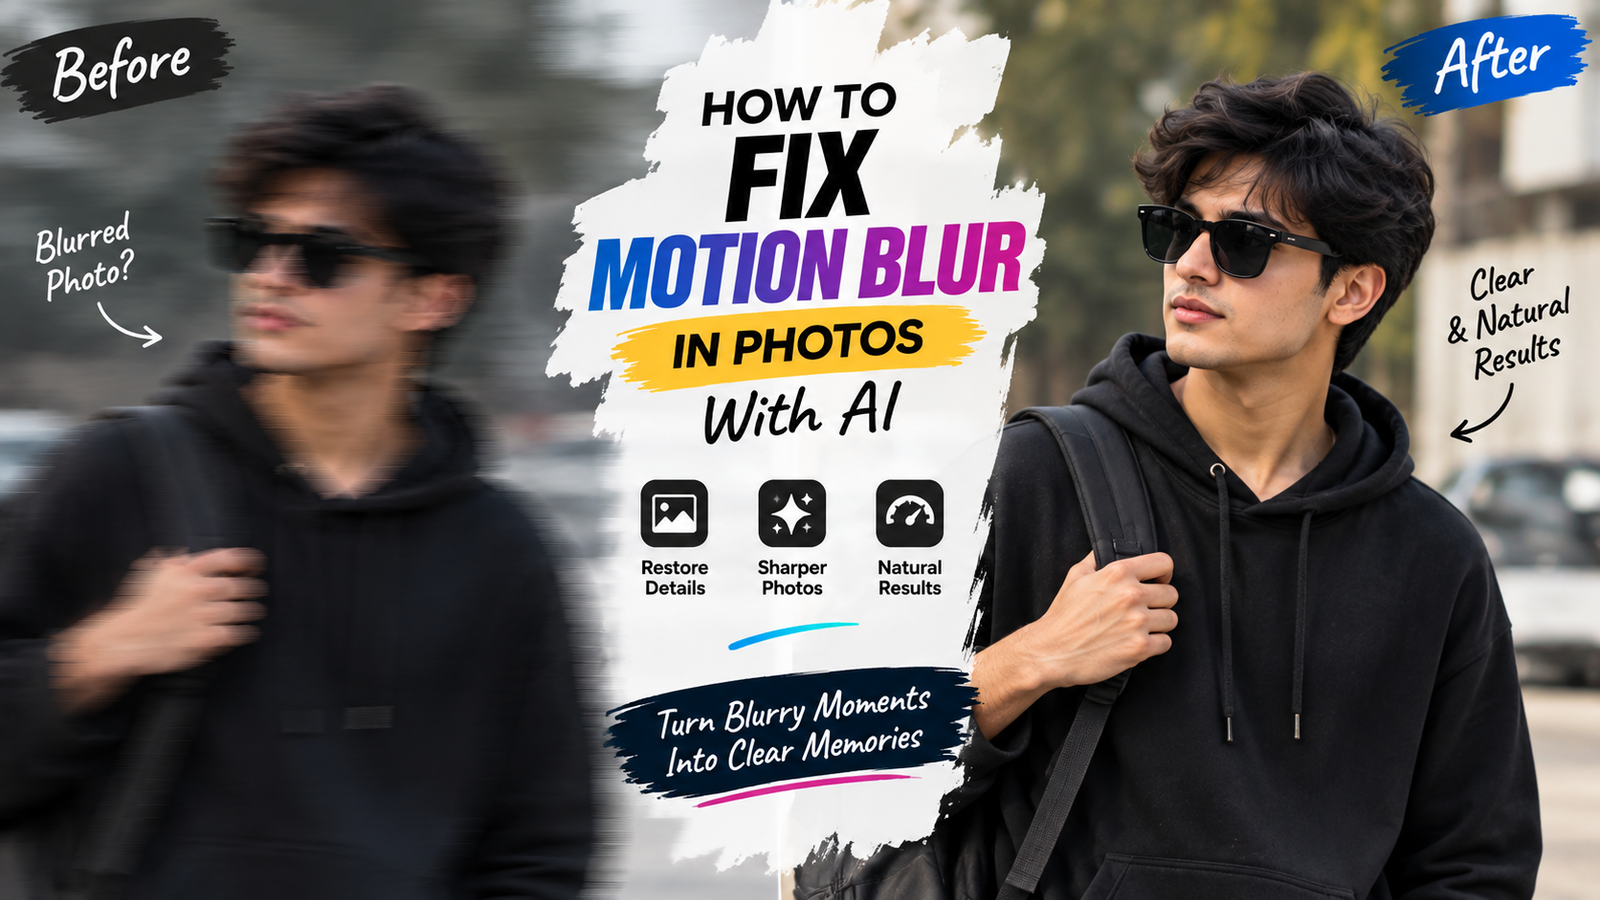
Sometimes you take a photo at exactly the right moment and still end up with a disappointing result. The person moved, the camera shook slightly, or the shutter wasn’t fast enough, and the final image comes out soft.
That is where fixing motion blur in photos with AI can be useful.
But there is a catch: AI cannot magically recover every detail that a camera failed to capture. When the blur is mild, an AI editor can often make the image look noticeably sharper. When the blur is severe, however, the tool may start inventing facial features, hair, text, or background details.
That’s why the goal shouldn’t be “make everything extremely sharp.”
The better goal is to improve the photograph while keeping it believable.
What Is Motion Blur?
Motion blur happens when something moves while the camera is capturing the photograph.
There are two common situations.
The subject moved
Imagine taking a picture of someone walking, turning their head, waving, or jumping.
The person’s movement can create softness around:
- Face
- Hands
- Hair
- Clothes
- Feet
The camera moved
The subject may have been completely still, but your hand moved slightly while taking the photograph.
In that case, the blur can affect almost the entire image.
These two problems can look similar, but AI may handle them differently.
Motion Blur Is Not the Same as an Out-of-Focus Photo
This distinction matters.
A photograph can be soft because:
- The camera focused on the wrong subject
- The lens didn’t lock focus properly
- The subject moved
- The camera moved
- The original image is low resolution
- The image was heavily compressed
AI sharpening may help with some of these situations, but it can’t completely reverse every type of blur.
For example, if someone’s face is only slightly soft, AI may improve the visible details.
If the face is heavily smeared because the person moved quickly, the editor has much less reliable information to work with.
The result may look sharper while actually being less accurate.
Before Using AI, Look at the Blur
Don’t immediately upload the image and ask AI to “fix everything.”
Zoom in first.
Look at the face, eyes, hands and important objects.
Try to determine whether the blur is:
- Mild
- Moderate
- Severe
- Limited to one area
- Spread across the whole image
This simple check can save you from over-editing.
If only the person’s face is slightly soft, there is no reason to aggressively sharpen the entire photograph.
Start With the Least Amount of Correction
This is probably the most useful rule for AI sharpening:
Start small.
A mild sharpening pass can improve an image while keeping it natural.
An aggressive sharpening pass can create:
- Harsh skin texture
- Strange eyelashes
- Artificial hair
- Oversharpened edges
- Digital noise
- Fake-looking details
The problem is that an AI-generated “detail” can look impressive when you first see it.
Then you compare it with the original and realize the person’s face has subtly changed.
That’s not a successful restoration.
How to Fix Motion Blur in Photos With AI
When you fix motion blur in photos with AI, describe the problem as a correction rather than asking the tool to recreate the photograph.
A useful editing approach is:
Reduce the existing motion blur and improve overall clarity while preserving the original face, facial features, expression, skin texture, hairstyle, clothing, background, colors, lighting, and composition. Do not invent new facial details or change the identity of the subject.
The exact wording isn’t magic.
What matters is the instruction’s intention.
You’re telling the AI:
Make this photograph clearer, but don’t redesign it.
Why Faces Need Extra Protection
Faces are where AI sharpening can go wrong most noticeably.
Suppose the original photo has a slightly blurred eye.
The AI may try to “complete” it.
It could produce an eye that looks perfectly sharp—but isn’t necessarily the eye that was actually photographed.
The same thing can happen with:
- Nose shape
- Lips
- Eyebrows
- Teeth
- Jawline
- Skin texture
This is especially important when editing personal photographs.
A sharper face isn’t automatically a better face.
The goal is to preserve the person’s original appearance.
Don’t Ask AI to Recreate Details That Are Completely Missing
This is an important limitation.
If a photograph is so blurred that you can’t tell what is actually present, AI has to make an educated guess.
For example, if a shirt logo is completely smeared, an AI editor may create something that looks like text.
It may even look convincing.
But convincing doesn’t mean correct.
The same applies to:
- License plates
- Product labels
- Documents
- Signs
- Tattoos
- Facial features
- Small objects
If the original detail isn’t recoverable, don’t treat an AI reconstruction as the original information.
Motion Blur in Night Photos
Night photographs are particularly prone to blur.
There is less available light, so cameras often use slower shutter speeds.
That means even a small movement can soften the image.
You may notice blur around:
- Faces
- Hands
- Street lights
- Vehicles
- Buildings
- Moving people
AI can improve overall clarity, but be careful with bright lights.
Aggressive sharpening around lights can create unnatural halos.
A better result usually comes from improving the subject’s clarity while keeping the natural glow of the lights.
Don’t Sharpen the Background Just Because You Can
Imagine a portrait where the person is slightly blurred but the background is already soft because of depth of field.
If you sharpen the whole image equally, you can destroy the original photographic look.
The background may become noisy and overly detailed.
Instead, preserve the existing depth.
The person can be clearer while the background remains naturally soft.
This is one reason selective editing is often better than applying one correction to the entire photograph.
What About Hair?
Hair is another area where AI can easily overdo things.
A slightly blurred hairstyle may contain enough information for the editor to improve its definition.
But if you ask for “ultra-detailed individual hair strands,” the AI may create strands that weren’t actually visible.
The result can look like a beauty filter or generated portrait.
A natural correction should preserve:
- Original hairstyle
- Hair length
- Hair direction
- Existing volume
- Natural flyaways
- Original color
The goal is clarity, not a completely redesigned hairstyle.
Hands Are Usually More Difficult Than Faces
Motion blur often affects hands because people move them quickly.
If the original hand is slightly soft, AI may be able to make its edges cleaner.
But if the fingers are heavily blurred, don’t expect perfect recovery.
This is an area where AI can create subtle anatomical mistakes.
After editing, check:
- Number of fingers
- Finger length
- Hand position
- Wrist shape
- Relationship between fingers
A photograph can look excellent overall and still have an obvious problem once you notice the hand.
Clothing Can Reveal an AI Edit
Fabric has texture, folds and shadows.
When AI sharpens a blurred shirt or jacket, it may accidentally invent folds or patterns.
This is particularly noticeable with:
- Striped clothing
- Printed shirts
- Embroidery
- Text on clothing
- Small logos
Compare the clothing with the original.
If the pattern has changed, the AI has gone beyond simple sharpening.
How to Handle a Blurry Group Photo
Group photographs can be tricky because different people may have different levels of blur.
One person may be sharp.
Another person may have moved.
Someone in the background may be slightly out of focus.
Applying the same sharpening to everyone can make the image look unnatural.
A better workflow is to identify the people who actually need improvement.
Then make the correction as selectively as your editing tool allows.
This is especially useful when the photograph is otherwise good and you don’t want AI to regenerate the entire group.
Don’t Combine Too Many Edits at Once
A common mistake is trying to fix everything in one request.
For example:
- Remove blur
- Change lighting
- Smooth skin
- Change background
- Improve face
- Change clothes
- Add cinematic color
At that point, you’re no longer simply fixing a blurry photograph.
You’re asking AI to recreate it.
If the original image matters, work in stages.
A better workflow
First: improve clarity.
Then: inspect the result.
Next: correct lighting if necessary.
Finally: make any creative changes you actually need.
This makes it much easier to identify where an unwanted change happened.
When AI Sharpening Makes the Photo Look Worse
More sharpness doesn’t always mean more quality.
Overprocessed photographs often have:
- Crunchy skin
- Bright outlines
- Excessive micro-contrast
- Noisy shadows
- Artificial eyes
- Plastic-looking hair
You might initially think the photo has become “HD.”
But when you look at it for a few seconds, something feels wrong.
Trust that feeling.
A realistic photograph usually has some softness.
Lens characteristics, lighting and distance naturally affect how much detail is visible.
The goal is to restore useful clarity—not remove every trace of softness.
A Simple Before-and-After Test
After the AI finishes editing, don’t immediately save the result.
Put the original and edited versions next to each other.
Check the face first.
Then look at:
Eyes: Did their shape change?
Skin: Did AI add unnatural texture?
Hair: Did the hairstyle change?
Clothing: Did patterns or folds change?
Background: Did new objects appear?
Edges: Are there strange halos?
Colors: Did the overall color change?
If the image looks sharper but several unrelated things changed, reduce the strength of the edit.
How to Fix a Face That Became Too Sharp
Sometimes the AI produces a face with exaggerated detail.
You may see pores, eyelashes and hair that look unnaturally defined.
In that situation, don’t try to fix it by adding another enhancement filter.
Go back to the original image and make a more restrained edit.
Tell the AI to improve clarity while preserving the existing skin texture and facial details.
This usually produces a more believable result than repeatedly sharpening the already edited image.
What If the Entire Photo Is Blurry?
If the entire photograph is affected by mild camera shake, AI enhancement can sometimes help.
But if the blur is severe across the whole frame, expectations need to be realistic.
There simply may not be enough original information available.
AI can estimate missing detail, but estimation is not recovery.
If the photograph is important, keep the original file and treat the enhanced version as a separate interpretation.
Never overwrite your only copy.
Motion Blur vs Creative Blur
Not every blur needs to be removed.
Photographers sometimes intentionally use motion blur to show movement.
For example:
- A person running
- A moving car
- Dancing
- Traffic at night
- Water movement
Removing all blur could actually make the photograph less interesting.
Before editing, ask:
Is this blur a problem, or is it part of the photograph?
That small question can completely change the editing decision.
When You Should Leave the Photo Alone
There are situations where the original photograph is better than an AI-enhanced version.
Leave it alone when:
- The blur is part of the artistic style
- AI changes the person’s identity
- Important details are completely missing
- The enhanced version looks obviously artificial
- The image contains important documentary information
- The photograph becomes too sharp compared with its original lighting
Sometimes a slightly blurry real photograph is preferable to a perfectly sharp AI reconstruction.
That’s especially true for meaningful personal photographs.
Using AI to Improve Old or Low-Quality Photos
Blur isn’t always caused by movement.
Older photographs and heavily compressed images can also appear soft.
AI enhancement can sometimes improve these images, but the same rule applies: don’t confuse generated detail with recovered detail.
If you’re working with an old photograph, compare the enhanced result carefully with the source.
You want to preserve the photograph’s original character rather than turn it into a modern-looking artificial portrait.
A Practical Editing Formula
For most mild motion-blur situations, think about the edit in four parts:
Problem: What is actually blurry?
Correction: What level of clarity is needed?
Preservation: Which details must stay exactly as they are?
Restriction: What should AI absolutely not change?
For example:
Improve the existing motion blur in the subject’s face and clothing, keeping the original facial features, expression, skin tone, hairstyle, clothing design, background, lighting and composition unchanged. Preserve natural photographic texture and avoid inventing facial details or excessive sharpness.
This is much more useful than simply saying:
Make this photo HD.
“Make it HD” describes a desired result, but it doesn’t tell the AI what not to change.
A Good Workflow for Realistic Results
If the photograph is important, I would use this sequence:
Keep the original
Never work only on your last remaining copy.
Make one correction
Start with blur reduction.
Inspect the face
This is usually the most sensitive area.
Check the edges
Look around hair, hands, clothing and objects.
Compare with the original
Don’t judge the edited image in isolation.
Stop when it looks natural
You don’t need to keep improving an image just because the tool offers more enhancement.
That last step is easy to overlook.
AI editors can always give you another version. That doesn’t mean the next version will be better.
The Difference Between Sharper and More Realistic
These two words are not interchangeable.
A sharper photograph contains more apparent edge detail.
A realistic photograph has details that make sense together.
Those details include:
- Natural skin texture
- Consistent lighting
- Correct proportions
- Realistic hair
- Appropriate depth
- Natural shadows
- Consistent colors
An AI editor can increase sharpness while making the photograph less realistic.
That’s why the final decision should always be based on the complete image.
Final Thoughts
Fixing motion blur in photos with AI can rescue photographs that would otherwise be difficult to use, especially when the blur is mild and the original image still contains enough information.
But AI works best when you treat it like an editor rather than a magician.
Tell it what needs improvement, protect the details that matter, and avoid asking it to recreate things that are no longer visible in the original photograph.
Most importantly, don’t chase maximum sharpness.
A good result is the one where the photograph looks clearer without looking like it has been regenerated.
If someone sees the edited image and simply thinks, “That’s a clearer version of the same photo,” you’ve probably done the job right.






