

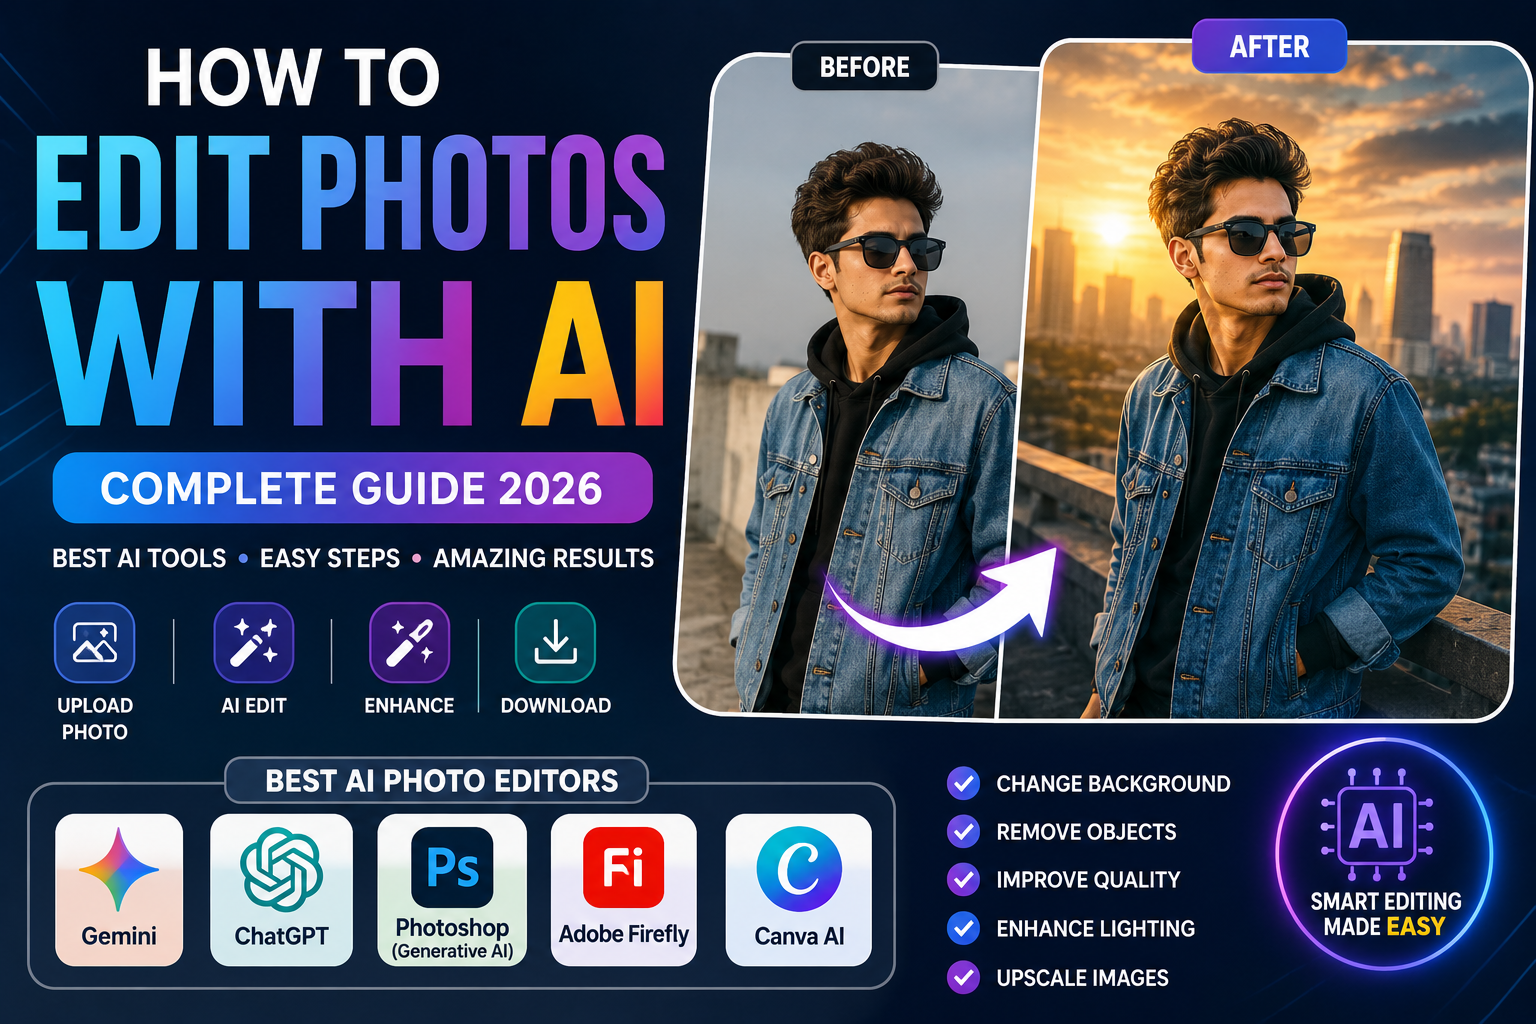
AI photo editing has changed the way people improve and transform their pictures. Tasks that once required advanced Photoshop skills can now be completed with simple instructions in many AI-powered photo editors.
You can use AI to remove unwanted objects, change a background, improve lighting, enhance image quality, add new elements, expand a photo, or create a completely different visual style.
The good thing is that you don’t necessarily need professional editing experience. Many modern AI photo editors work directly in a web browser or mobile app.
In this guide, you’ll learn how to edit photos with AI, which AI tools are worth trying in 2026, how each one works, what type of editing they are best suited for, and what you should check before publishing an AI-edited image.
What Is AI Photo Editing?
AI photo editing uses artificial intelligence to understand an image and make requested changes.
Traditional photo editing usually requires you to manually select objects, adjust colors, use layers, remove backgrounds and perform other individual operations.
AI-assisted editing can automate many of these steps.
For example, instead of manually removing a person from the background, an AI editor may allow you to select the person and remove them automatically. Some tools can also understand a written description and generate or replace part of an image.
Common AI photo editing tasks include:
- Removing unwanted objects
- Removing people from backgrounds
- Changing backgrounds
- Replacing skies
- Improving image quality
- Increasing resolution
- Adjusting lighting
- Changing colors
- Adding new objects
- Replacing selected objects
- Expanding an image
- Creating social-media-ready images
- Retouching portraits
The exact features depend on the AI editor you use.
Which AI Is Best for Photo Editing?
There isn’t one AI that is best for every type of photo editing.
Different tools are designed for different workflows. For example, Gemini is convenient for conversational image edits, Photoshop offers detailed control, Firefly focuses heavily on generative editing, while Canva is convenient for quick social-media designs.
Here is a quick comparison:
| AI Photo Editor | Best For | Beginner Friendly | Main Strength |
|---|---|---|---|
| Google Gemini | Quick AI edits | Yes | Conversational editing |
| ChatGPT Images | Simple creative edits | Yes | Natural-language editing |
| Adobe Photoshop | Professional editing | Moderate | Precise control |
| Adobe Firefly | Generative editing | Yes | AI-based additions and removals |
| Canva | Social media graphics | Yes | Easy editing and design |
| Google Photos | Quick mobile edits | Yes | Convenient phone editing |
The “best” option depends on what you are trying to accomplish.
1. Google Gemini for AI Photo Editing
Google Gemini is one of the easiest options for people who want to edit a photo by describing what they want.
Google’s current Gemini image workflow allows users to upload an image and ask Gemini to make edits. Supported workflows can also use multiple uploaded images as references.
How to Edit a Photo in Gemini
The basic process is:
- Open Gemini.
- Upload the photo you want to edit.
- Select the image.
- Choose the chat/edit option when available.
- Describe the changes you want.
- Submit the request.
- Review the generated result.
- Refine the edit if necessary.
For example, you can describe a request such as:
“Change the background to a clean modern studio while keeping the person, clothing and facial appearance unchanged.”
You don’t need to know complicated Photoshop terminology.
What Can Gemini Do?
Depending on the available model and account, Gemini can be used for tasks such as:
- Background changes
- Image transformations
- Object changes
- Creative compositions
- Image generation
- Image-to-image editing
- Combining visual references
Google currently documents image editing through Nano Banana 2 and notes that availability can vary. Image editing is also restricted for users under 18.
Who Should Use Gemini?
Gemini is a good starting point if you want to experiment with AI photo editing without learning a complicated desktop editor.
It is especially convenient for:
- Instagram users
- Content creators
- Beginners
- Students
- Bloggers
- Casual photographers
2. ChatGPT for AI Photo Editing
ChatGPT can also be used for creating and editing images.
You can upload an existing image and describe the changes you want. ChatGPT’s image editor can also allow you to select a specific area of an image and describe the modification you want there.
How to Edit a Photo in ChatGPT
A typical workflow is:
- Open ChatGPT.
- Upload an image.
- Tell ChatGPT what you want changed.
- Specify the area if the edit is limited to one part of the image.
- Review the result.
- Ask for another variation if necessary.
For example:
“Remove the people in the background while keeping the main subject unchanged.”
Or:
“Replace the background with a natural outdoor setting and match the lighting to the subject.”
ChatGPT is particularly useful when you want to communicate the desired edit conversationally rather than manually adjusting every setting.
3. Adobe Photoshop With AI
If you want much more control over the final result, Adobe Photoshop remains one of the strongest choices.
Modern Photoshop includes generative AI features such as Generative Fill, Generative Expand, Generative Remove and other AI-assisted tools. Adobe says Generative Fill can add, remove or replace image content using natural-language instructions.
How Photoshop AI Editing Works
A common workflow looks like this:
- Open your photo in Photoshop.
- Select the area you want to modify.
- Choose Generative Fill.
- Describe what you want to add or change.
- Generate the result.
- Compare the available variations.
- Keep the version you prefer.
- Continue editing if necessary.
For example, you could select an empty area beside a person and ask Photoshop to add an object there.
Photoshop also creates generative content in a way that can be refined alongside the rest of the editing workflow.
Who Should Use Photoshop?
Photoshop is better suited to people who need detailed control, such as:
- Professional photographers
- Graphic designers
- Digital artists
- Marketing teams
- E-commerce businesses
- Advanced content creators
It has a steeper learning curve than simple AI editors, but it provides significantly more control.
4. Adobe Firefly for AI Photo Editing
Adobe Firefly is another useful option when the main goal is generative image editing.
Adobe’s current Firefly AI photo editor includes features such as Prompt to Edit, Generative Remove, Generative Expand and Generative Upscale. Users can upload a photo, describe a change and generate an edited version.
How to Edit a Photo in Firefly
The general process is:
- Open Adobe Firefly.
- Upload your photo.
- Open the image-editing feature.
- Describe the change you want.
- Generate the result.
- Review different variations.
- Refine the instruction if needed.
- Download the finished image.
Firefly can be useful when you want to remove distractions, replace backgrounds or add new visual elements.
5. Canva AI Photo Editor
Canva is particularly useful for people who want to combine photo editing with social-media design.
Its AI photo editor can make changes using natural-language instructions, and Canva says its Magic Edit feature can add or remove elements from an image.
Why Canva Is Useful
Canva is convenient when you need more than just photo editing.
For example, after editing a photo, you can use Canva to create:
- Instagram posts
- Instagram Stories
- YouTube thumbnails
- Posters
- Blog graphics
- Social-media banners
- Presentation graphics
This makes it useful for creators who want to edit an image and immediately place it inside a finished design.
6. Google Photos for Quick AI Editing
If you mainly edit photos on your phone, Google Photos can also provide AI-assisted editing features on supported devices.
Google’s current documentation includes a “Help me edit” workflow where users can describe the changes they want to make to a photo. Google notes that this feature can be experimental and may sometimes produce unexpected results.
This can be useful for simple edits when you don’t want to open a dedicated professional editing application.
AI Photo Editor Comparison
Choosing an AI photo editor becomes easier when you compare the type of work you need.
| Feature | Gemini | ChatGPT | Photoshop | Firefly | Canva | Google Photos |
|---|---|---|---|---|---|---|
| Upload existing photo | Yes | Yes | Yes | Yes | Yes | Yes |
| Text-based editing | Yes | Yes | Yes | Yes | Yes | Supported features |
| Background editing | Yes | Yes | Yes | Yes | Yes | Some tools |
| Object removal | Supported | Supported | Yes | Yes | Yes | Supported features |
| Professional controls | Limited | Limited | Excellent | Good | Moderate | Basic |
| Social media design | Limited | Limited | Good | Good | Excellent | Basic |
| Beginner friendly | High | High | Moderate | High | High | High |
Features and availability can change between plans, devices, models and regions, so users should check the current version of each service before relying on a specific feature.
How to Edit a Photo With AI Step by Step
Regardless of which AI editor you choose, the overall process is similar.
Step 1: Choose the Right Photo
Start with a reasonably clear image.
A sharp original photograph usually gives an AI editor more useful information than a very blurry or heavily compressed image.
For portrait editing, a photo where the person’s face is clearly visible is usually easier to work with.
Step 2: Decide What You Want to Change
Before opening an AI editor, identify the actual problem.
Do you want to:
- Remove an object?
- Change the background?
- Improve lighting?
- Make the image sharper?
- Change the colors?
- Add something?
- Expand the image?
- Create a completely different style?
Knowing the goal helps you choose the right tool.
Step 3: Upload the Image
Upload your original photo into the AI editor.
Some tools allow multiple reference images, while others work with one image at a time.
If the tool supports references, you can sometimes provide an additional image to show the type of background, clothing or visual element you want.
Step 4: Describe the Edit Clearly
You don’t need to write a complicated paragraph.
Explain:
What should change + where it should change + what should stay the same.
For example:
“Remove the unwanted object from the left side of the image. Keep the person and the rest of the background unchanged.”
This is much clearer than:
“Fix my photo.”
Step 5: Review the Result
Never assume that the first AI-generated result is perfect.
Check:
- Face
- Hands
- Hair
- Clothing
- Background
- Shadows
- Reflections
- Text
- Object edges
AI can sometimes introduce unexpected details.
Step 6: Refine the Edit
If something is wrong, tell the AI exactly what needs to be corrected.
For example:
“Keep the background from the previous version but restore the original face and clothing.”
Small follow-up changes can be more effective than starting from zero every time.
What Can You Edit With AI?
AI photo editing is useful for many everyday tasks.
Change the Background
You can replace a plain background with another environment.
Examples include:
- Studio
- Office
- Beach
- City
- Rooftop
- Nature
- Restaurant
- Luxury interior
The best result usually comes when the new environment has lighting that makes sense with the original subject.
Remove Unwanted Objects
AI can help remove:
- People in the background
- Wires
- Signs
- Trash
- Small distractions
- Unwanted objects
Modern generative editors can reconstruct the area after removing an object.
Adobe’s Firefly and Photoshop both provide AI-based removal and generative editing features.
Improve Lighting
AI can help adjust the overall appearance of a photograph.
You can request changes such as:
- Brighter exposure
- Softer lighting
- Warm lighting
- Cooler lighting
- Better contrast
- More balanced shadows
However, it’s important not to overdo the effect. A photo can quickly start looking artificial if every highlight and shadow is exaggerated.
Improve Image Quality
Some AI tools can upscale images or enhance details.
This can be useful when an image is:
- Low resolution
- Slightly soft
- Cropped too much
- Missing fine detail
Adobe currently provides Generative Upscale in Photoshop and Firefly workflows.
AI enhancement cannot magically recover every original detail. If the source image is extremely blurry, the AI may create plausible-looking details rather than recover the exact information that was originally captured.
Change Clothing
Some AI editors can generate or replace clothing.
For example, you might change a casual shirt into a formal jacket.
For better results, describe the clothing clearly and ask the editor to preserve the person’s face and body proportions.
Add Objects
Generative AI can also add objects to an existing photograph.
For example:
- Add a chair
- Add a plant
- Add a lamp
- Add a vehicle
- Add decorations
- Add products to a scene
Photoshop’s Generative Fill is specifically designed for adding and removing content from selected areas.
AI Photo Editing on Mobile
You don’t always need a computer to edit photos with AI.
Depending on the features available in your region and account, you can use mobile apps such as Gemini, ChatGPT, Canva, Photoshop, Firefly and Google Photos.
For a beginner, the easiest workflow is usually:
Open app → upload photo → describe change → generate → review → save.
Mobile AI editing is particularly convenient for Instagram creators because the entire process can happen on a smartphone.
AI Photo Editing on a Computer
A computer becomes more useful when you need precision.
For example, Photoshop provides selection tools, layers and generative editing features that can be combined with traditional editing tools.
A desktop workflow is usually better for:
- Professional photography
- Product images
- Commercial graphics
- Complex compositions
- Large images
- Detailed retouching
AI Editing vs Traditional Photo Editing
AI does not completely replace traditional photo editing.
Both approaches have advantages.
| AI Photo Editing | Traditional Editing |
|---|---|
| Faster for many tasks | More manual control |
| Easy for beginners | Requires more skill |
| Natural-language instructions | Precise tools and settings |
| Useful for creative changes | Excellent for exact retouching |
| Can automate repetitive tasks | More predictable for detailed work |
| May produce unexpected results | Takes more time |
For many users, the best approach is actually a combination of both.
You can use AI to perform a difficult task quickly and then use traditional editing tools to make the final adjustments.
How to Get More Natural AI Photo Edits
One common problem with AI editing is that the final image can look too artificial.
To make an edit more believable, pay attention to:
Lighting
The light on the subject should match the new environment.
Shadows
Objects should cast shadows in a direction that makes sense.
Perspective
New objects should have a realistic size and position.
Skin Texture
Avoid excessive smoothing.
Reflections
Mirrors, windows, glasses and shiny surfaces can expose unrealistic AI edits.
Edges
Check hair, hands, clothing and object boundaries carefully.
A technically impressive AI edit can still look fake if these details don’t match.
How to Edit Instagram Photos With AI
AI tools are particularly useful for social-media content.
A simple workflow is:
- Select your original photograph.
- Remove distracting objects.
- Correct lighting.
- Improve composition.
- Adjust the background if necessary.
- Resize the image for the target platform.
- Add text or branding if required.
- Review the final image.
- Export the finished version.
Canva can be particularly convenient when the photo needs to become part of a complete Instagram design rather than remaining just an edited photograph.
How to Choose the Right AI Photo Editor
Ask yourself four questions.
Do I want the easiest option?
Try a conversational editor such as Gemini or ChatGPT.
Do I need professional control?
Photoshop is the stronger choice.
Do I mainly want generative edits?
Adobe Firefly is worth considering.
Do I create social-media graphics?
Canva is especially convenient.
The goal isn’t to find a tool that does absolutely everything. It’s to choose the tool that fits your particular workflow.
Is AI Photo Editing Free?
Some AI photo editors offer free access or free features, while advanced capabilities may require a paid plan, credits or a subscription.
The exact limits can change over time.
For example, Adobe documents generative credits and different access levels for its generative AI features.
Google, OpenAI and Canva may also change feature availability, usage limits and plan requirements.
Therefore, don’t assume that a feature advertised as free will always have unlimited usage.
Are AI-Edited Photos Safe to Use?
AI photo editing itself isn’t inherently unsafe, but you should think about privacy, consent and intellectual property.
Use Your Own Photos When Possible
If you are editing personal photographs, using your own images is the simplest approach.
Get Permission Before Editing Someone Else’s Photo
Don’t use another person’s photograph in a way that violates their privacy or creates a misleading representation.
Be Careful With Copyrighted Images
If you download an image from the internet, don’t automatically assume that you have permission to modify or publish it.
Check Commercial Usage Rules
If you’re using AI-edited images for advertising, products or business purposes, read the applicable terms of the AI service and any third-party assets you use.
Does AI Editing Change the Original Photo?
Usually, AI editors generate an edited version rather than physically changing the original file.
However, workflows differ between applications.
A good habit is to keep the original photograph separately.
This gives you a backup if you later decide that you prefer the unedited version.
Common AI Photo Editing Mistakes
1. Using a Poor Source Image
If the original photo is extremely blurry, AI may have difficulty producing a convincing result.
2. Asking for Too Many Changes at Once
Large transformations can produce inconsistent results.
Try breaking complicated edits into smaller steps.
3. Ignoring the Background
A changed subject can look unrealistic if the background lighting doesn’t match.
4. Not Checking the Face
AI can sometimes alter facial details during a transformation.
Always compare the final image with the original.
5. Over-editing
Not every photo needs dramatic AI effects.
Sometimes a small lighting correction or object removal produces a better result than a complete transformation.
Frequently Asked Questions
What is the best AI for editing photos?
There is no single best AI for every task. Gemini and ChatGPT are convenient for conversational edits, Photoshop is better for detailed professional control, Firefly is strong for generative editing, and Canva is useful for social-media design.
How can I edit a photo with AI for free?
Start with an AI service that offers free image-editing features or a free allowance. Availability and limits can change, so check the current plan before starting a large editing project.
Can AI remove objects from photos?
Yes. Several modern AI editors can remove unwanted objects and reconstruct the surrounding area. Photoshop and Firefly both provide AI-based removal and generative editing tools.
Can AI change the background of a photo?
Yes. Background replacement is one of the common uses of generative photo editing. Some tools can automatically isolate the subject and generate a new environment.
Can I edit photos with AI on my phone?
Yes. Several AI editing services provide mobile apps or mobile-friendly workflows. Gemini, ChatGPT, Canva, Photoshop and Google Photos all have mobile-related editing options, although features vary.
Can Gemini edit an existing photo?
Yes. Google currently documents a workflow where users upload an existing image and ask Gemini to make edits.
Can ChatGPT edit an existing image?
Yes. ChatGPT supports uploading an existing image and describing the changes you want. Its editor can also target a specific area of an image.
Is Photoshop AI better than simple AI editors?
For detailed professional work, Photoshop provides more control because AI features can be combined with selections, layers and traditional editing tools. For quick edits, a simpler conversational AI editor may be easier.
Can AI make a blurry photo clear?
AI enhancement can improve sharpness and perceived detail, but it cannot guarantee recovery of information that was never captured in the original photograph.
Can AI change clothes in a photo?
Some AI image editors can modify or replace clothing. Results depend on the source image, the requested change and the capabilities of the selected model.
Can AI edit a photo without changing the face?
You can instruct the AI to preserve the person’s identity and facial appearance, but no AI editor can guarantee perfect preservation in every transformation. Always review the final result.
Is AI photo editing good for Instagram?
Yes. AI can help prepare portraits, lifestyle photographs, product images and creative social-media graphics. Canva can be particularly useful when the edited image also needs text, branding or a complete social-media layout.
Final Verdict
AI photo editing is no longer limited to professional designers. In 2026, beginners can upload a photo, describe the desired change and produce an edited result within a short time.
For simple conversational editing, Google Gemini and ChatGPT are convenient starting points. For detailed professional control, Adobe Photoshop remains a stronger choice. If your main goal is generative image editing, Adobe Firefly provides dedicated AI editing features. And if your edited photo needs to become an Instagram post, thumbnail or social-media graphic, Canva can make the rest of the workflow easier.
The most important thing is not to choose a tool simply because it has the word “AI” in its name. Choose it according to the type of edit you actually need.
For quick edits, keep the process simple. For professional work, combine AI with traditional editing tools and always review the final image before publishing it.
AI can save time, but human judgment is still important. Check faces, hands, lighting, shadows, text, reflections and object edges before considering an edited photograph finished.






