

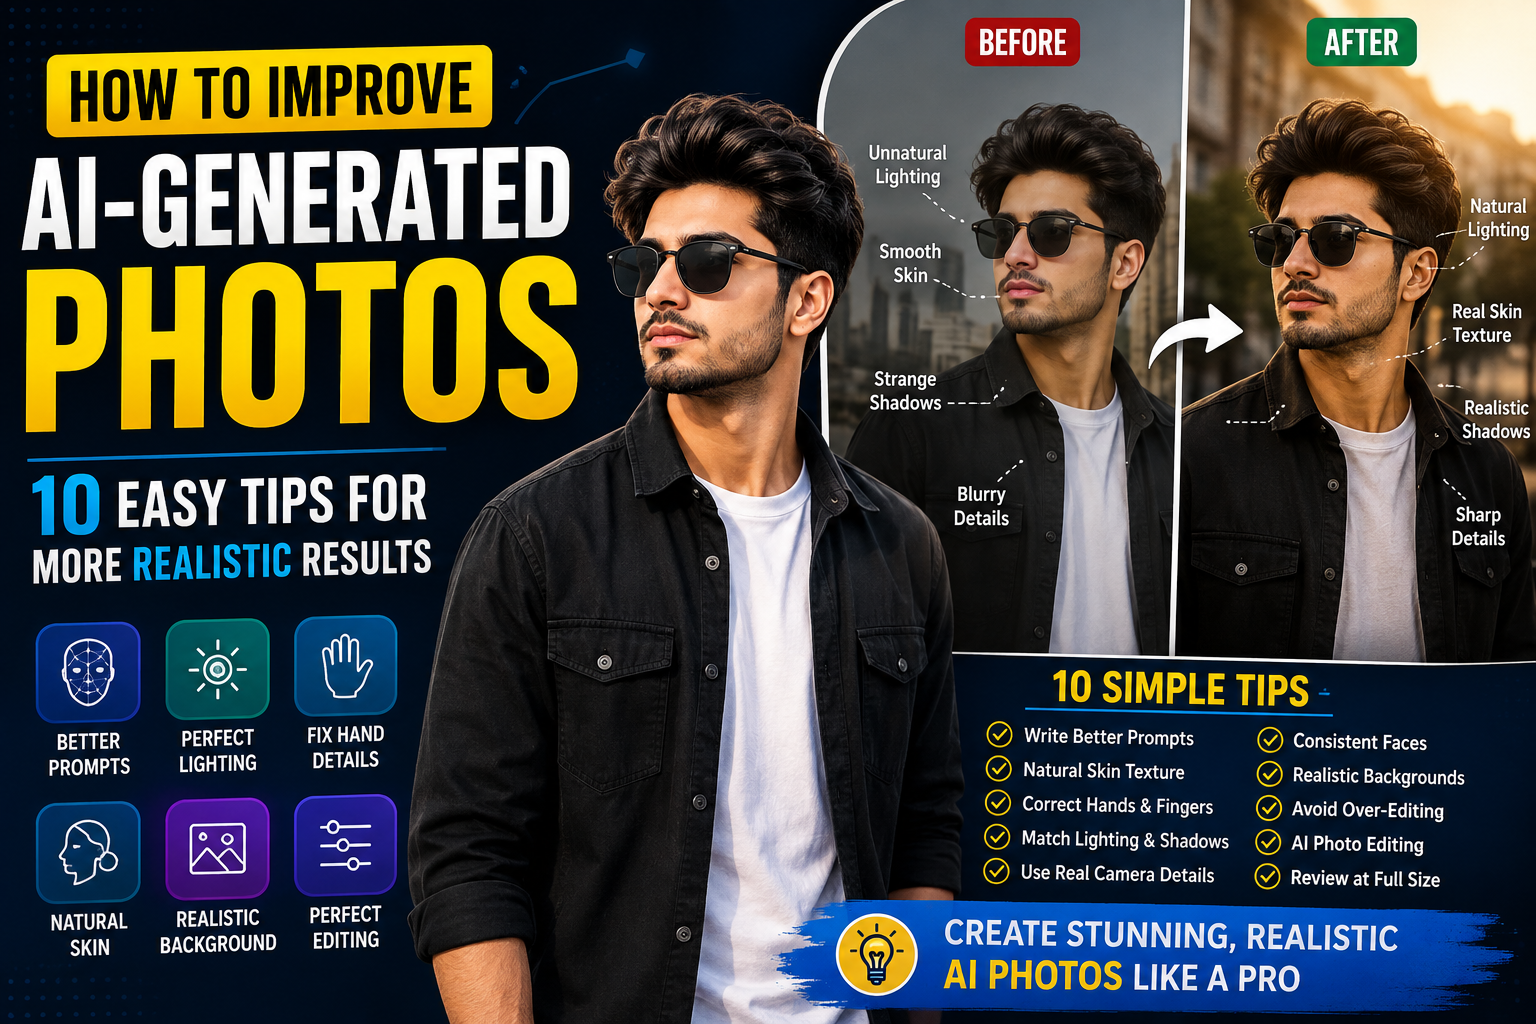
AI image generators have made it incredibly easy to create impressive photos from simple text prompts. You can generate portraits, fashion images, travel scenes, product visuals and creative backgrounds within minutes.
But there is one common problem: AI-generated photos don’t always look completely realistic.
Sometimes the face looks slightly different, hands have strange fingers, lighting doesn’t match the background, or clothing contains unusual details. These small problems can make an otherwise beautiful AI image look artificial.
The good news is that you don’t always need complicated editing software to improve the result. With better prompts, careful editing and a few simple techniques, you can make AI-generated photos look much more natural.
In this guide, we’ll look at 10 practical ways to improve AI-generated photos and avoid some of the most common mistakes.
Why Do AI-Generated Photos Sometimes Look Unrealistic?
AI image generators create images by understanding patterns from their training and your instructions. They don’t actually take a photograph of a real scene.
Because of this, the AI can sometimes struggle with small details such as fingers, reflections, text, jewellery, facial proportions or realistic shadows.
Common problems include:
- Unnatural hands or fingers
- Plastic-looking skin
- Incorrect facial details
- Strange objects in the background
- Inconsistent lighting
- Unrealistic shadows
- Distorted clothing
- Random text or logos
- Different facial features between images
- Excessive sharpening or smoothness
Understanding these problems is the first step toward creating better results.
1. Start With a Clear and Detailed Prompt
One of the easiest ways to improve AI-generated photos is to improve the prompt itself.
A vague prompt gives the AI a lot of freedom to decide how the final image should look.
For example:
A man standing in a city.
This doesn’t provide much visual direction.
A more detailed prompt could describe the person’s clothing, pose, camera angle, lighting, environment and overall photography style.
For example:
Create a realistic full-body street portrait of a young man standing casually on a modern city street at sunset. He is wearing a black overshirt, white T-shirt, blue jeans and clean white sneakers. Use natural golden-hour lighting, realistic skin texture, subtle shadows, accurate body proportions and a natural camera perspective.
The second prompt gives the AI much more useful information.
2. Ask for Natural Skin Texture
One of the biggest problems with AI portraits is overly smooth skin.
When the face looks too perfect, the image can immediately feel artificial.
Instead of asking for “perfect skin,” use descriptions such as:
- Natural skin texture
- Realistic pores
- Subtle facial details
- Natural complexion
- Soft skin imperfections
- Realistic photographic texture
You can include these details in your prompt:
Preserve natural skin texture with realistic pores, subtle imperfections and authentic facial detail. Avoid plastic-looking or overly smooth skin.
The goal isn’t to make the person look imperfect. The goal is to make the skin behave more like a real photograph.
3. Pay Special Attention to Hands and Fingers
Hands are one of the most common trouble spots in AI-generated images.
You may notice:
- Extra fingers
- Missing fingers
- Strange finger positions
- Merged fingers
- Unnatural hands
- Incorrect grip on objects
If hands are important in your composition, describe their position clearly.
For example:
Both hands are naturally visible, anatomically correct, with relaxed fingers and a realistic grip on the phone.
After generating the image, always zoom in and check the hands before using the photo publicly.
4. Match the Lighting With the Environment
Lighting has a huge impact on realism.
Imagine a person standing in a sunset scene. If the background has warm orange light but the person’s face is illuminated with cold white light, the image may look obviously edited.
When creating AI-generated photos, mention the lighting direction and quality.
For example:
Warm sunlight coming from the left side, soft highlights on the face, subtle natural shadows and lighting consistent with the surrounding environment.
You can also specify:
- Morning light
- Golden-hour light
- Soft window light
- Overcast daylight
- Studio lighting
- Nighttime street lighting
The important thing is that the subject and background should appear to exist under the same light source.
5. Keep Facial Features Consistent
If you’re creating multiple AI images of the same person, facial consistency becomes especially important.
Without clear instructions, an AI tool may change:
- Face shape
- Eyes
- Nose
- Lips
- Hairstyle
- Skin tone
- Facial proportions
If your AI tool supports image references, use the same reference image when creating different scenes.
You can also describe the important characteristics in your prompt.
For example:
Maintain the same facial structure, hairstyle, skin tone and recognizable facial characteristics throughout the image.
This is particularly useful when creating a series of social media images.
6. Use Realistic Camera Details
Camera-related details can help establish a photographic look.
Instead of simply asking for a “realistic image,” you can describe the type of photography you want.
For example:
Natural DSLR photography, 50mm lens perspective, realistic depth of field, subtle background blur and authentic photographic detail.
You don’t need to add dozens of camera specifications to every prompt. Too many technical instructions can sometimes make the prompt unnecessarily complicated.
Choose details that actually match your desired image.
7. Make the Background Match the Subject
A realistic subject can still look fake if the background doesn’t make sense.
Pay attention to:
- Perspective
- Lighting
- Depth
- Shadows
- Scale
- Weather
- Color temperature
For example, if your subject is standing inside a room, the floor shadow should correspond with the direction of the room’s lighting.
Similarly, a person standing near a large building should have a believable size relative to that building.
When writing your prompt, describe the environment clearly rather than simply saying “beautiful background.”
8. Avoid Excessive AI Effects
Many AI image prompts include words such as:
- Ultra perfect
- Extremely flawless
- Unreal beauty
- Hyper-detailed everything
- Perfect skin
- Maximum sharpness
Using too many exaggerated terms can sometimes produce an image that looks overly processed.
A realistic photograph usually contains subtle variations in texture, lighting and focus.
Instead, use language such as:
Photorealistic, natural lighting, authentic skin texture, realistic proportions and subtle photographic imperfections.
The aim should be natural realism, not an image that looks artificially perfect.
9. Fix Small Errors With AI Editing
You don’t always need to regenerate the entire image because of one small mistake.
Modern AI editing tools can often help you correct individual areas.
For example, if the generated image looks good but the hand is distorted, you can edit that specific area rather than starting again.
You might use an instruction such as:
Correct the hand anatomy and fingers while keeping the person’s face, clothing, pose, background and overall composition unchanged.
Similarly, you can fix:
- Clothing details
- Facial imperfections
- Background objects
- Jewellery
- Hair
- Shadows
- Small visual artifacts
When editing an existing image, be specific about what should change and what should remain unchanged.
10. Always Review the Final Image at Full Size
This is one of the simplest and most overlooked steps.
An AI image may look perfect as a small thumbnail but reveal problems when viewed at full resolution.
Before publishing, zoom in and inspect:
Face:
Are the eyes, teeth and facial proportions natural?
Hands:
Are the fingers and hand positions correct?
Clothing:
Are buttons, patterns and seams consistent?
Background:
Are there strange objects or distorted structures?
Lighting:
Does the subject match the environment?
Edges:
Are hair, clothing and objects properly separated from the background?
A two-minute final check can prevent an obvious AI mistake from appearing in your finished content.
Use a Negative Prompt When Your AI Tool Supports It
Some AI image generators support negative prompts or exclusion instructions.
These can be useful for telling the system what you don’t want.
A general example could be:
distorted hands, extra fingers, malformed anatomy, unnatural skin, blurry face, warped objects, duplicate elements, unrealistic shadows, distorted background, artificial plastic texture
Negative prompts are not magic, and their effectiveness depends on the AI tool you’re using. Still, they can be useful when you repeatedly encounter the same type of problem.
Example of a Better AI Photo Prompt
Here is a simple example that combines several of the techniques above:
Create a photorealistic portrait of a young South Asian man standing casually on a modern city street during golden hour. Preserve natural facial proportions, realistic skin texture, subtle pores and authentic facial details. He is wearing a black casual shirt, white T-shirt, blue jeans and clean sneakers. Use warm sunlight from the side with soft natural shadows that match the environment. Keep the hands anatomically correct with natural finger positions. Use a realistic camera perspective, natural depth of field and subtle background blur. Maintain accurate body proportions and realistic clothing texture. The final image should look like a professionally photographed real-life portrait rather than a digital illustration.
This type of prompt gives the AI clear instructions without making the description unnecessarily complicated.
Common Mistakes to Avoid When Creating AI Photos
Giving Too Many Conflicting Instructions
A prompt containing dozens of contradictory requirements can confuse the image generator.
Keep your instructions organized and make sure they support the same visual goal.
Changing Everything During Editing
If an image already has a good face, pose and composition, don’t ask the AI to change everything at once.
Make smaller edits when possible.
Ignoring the Original Reference
If you’re trying to maintain someone’s recognizable appearance, use an appropriate reference image when the AI tool supports it and clearly explain which features should remain consistent.
Expecting One Prompt to Always Work
AI image generation can be unpredictable.
Sometimes a slightly different wording, composition or reference image can produce a much better result.
How to Make AI Photos Look More Like Real Photography
The secret isn’t simply adding the word “realistic” to your prompt.
Realism comes from several elements working together:
- Natural lighting
- Correct proportions
- Realistic skin texture
- Consistent shadows
- Believable perspective
- Detailed clothing
- Natural poses
- Appropriate depth of field
- Realistic environmental details
When these elements are consistent, the final image is much more convincing.
Frequently Asked Questions
How can I make AI-generated photos look more realistic?
Use detailed prompts that describe natural lighting, realistic skin texture, accurate proportions, believable shadows and photographic details. Always review the final image for small AI errors.
Why does AI make hands look strange?
Hands contain complex shapes and many small details. AI image generators can sometimes misinterpret finger positions or anatomy, especially when hands are partially hidden or interacting with objects.
How do I make AI skin look less fake?
Ask for natural skin texture, subtle pores and realistic facial details instead of perfectly smooth or flawless skin.
Can AI fix an already generated photo?
Yes. Many modern AI editing tools allow you to modify specific parts of an existing image while keeping other areas unchanged.
Is a longer prompt always better?
Not necessarily. A useful prompt should be clear and relevant. Adding unnecessary instructions can make the prompt harder to follow and may not improve the final result.
Final Thoughts
Creating realistic AI-generated photos isn’t only about choosing the right AI tool. The instructions you provide and the way you review the final result also matter.
By focusing on natural skin texture, realistic lighting, accurate hands, consistent facial features, believable backgrounds and proper proportions, you can significantly improve the quality of your AI images.
Don’t be afraid to generate more than one version. AI image creation is often a process of refinement. Start with a clear prompt, inspect the result, identify the weak areas and make targeted changes.
With a little practice, you can create AI-generated photos that look far more natural and suitable for social media, websites, thumbnails and other creative projects.






