

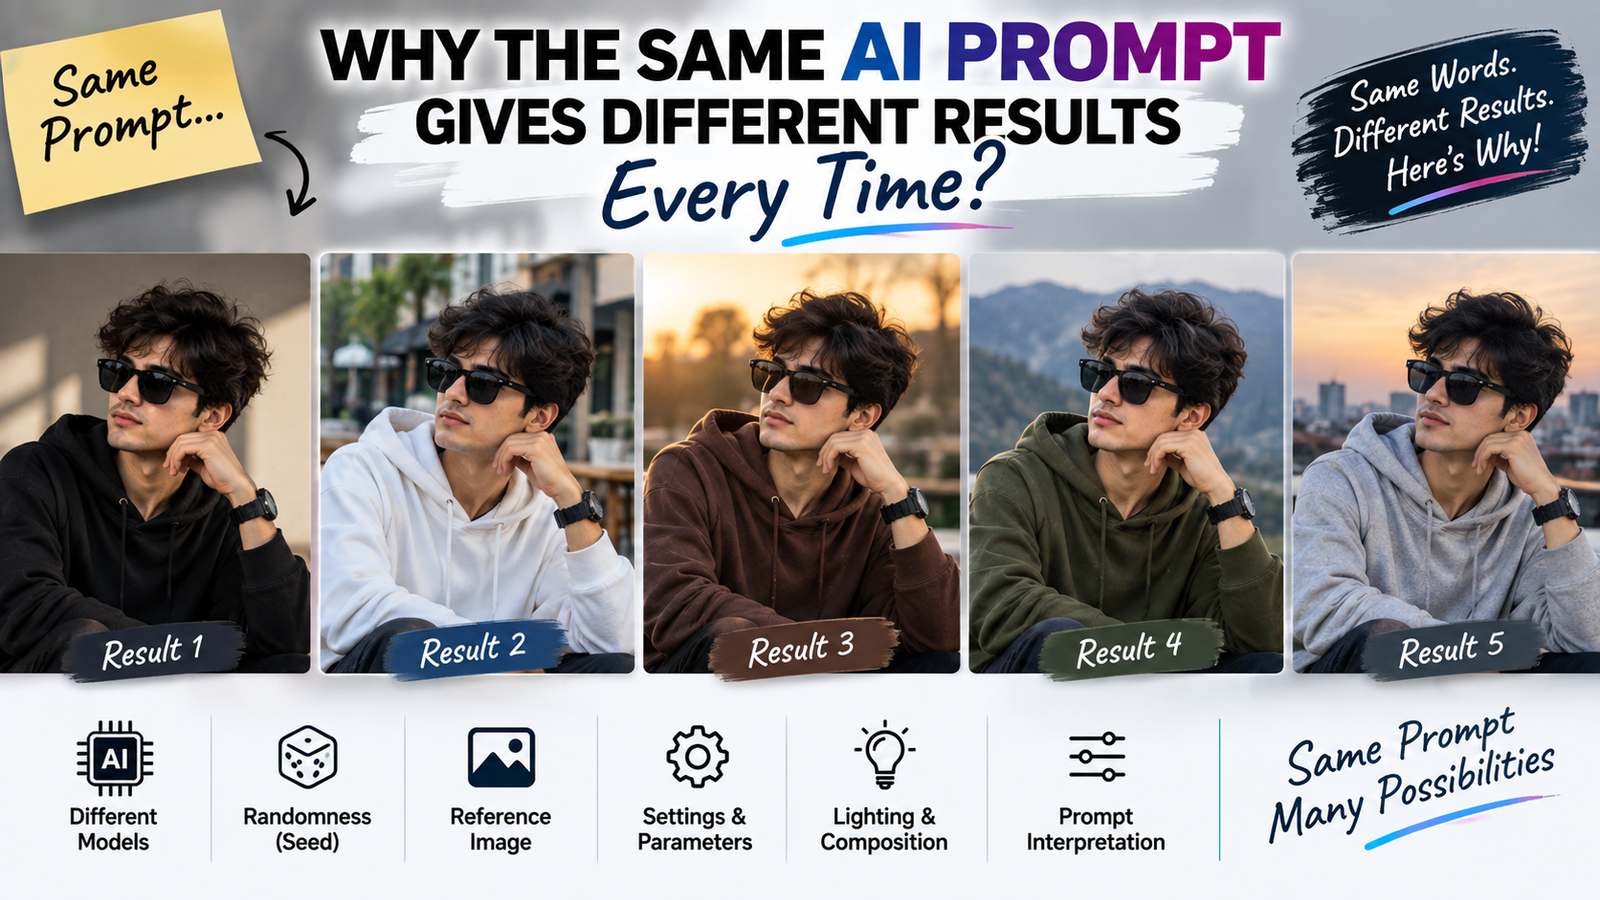
If you have ever used an AI image editor, you have probably noticed something confusing: you can use the same AI prompt twice and still get two noticeably different results.
The first image may have perfect lighting and natural-looking details. The second might change the person’s hairstyle, alter the background, or interpret the same instruction in a completely different way.
At first, it can feel like the AI is simply ignoring your instructions.
Usually, that’s not what’s happening.
AI image generation and editing involve several factors beyond the words you type. The model, reference image, random generation process, image composition, existing lighting, and even small differences in how the instruction is interpreted can influence the final result.
Understanding these factors makes AI editing much less frustrating. Instead of repeatedly rewriting a prompt without knowing why the result changed, you can identify what actually caused the difference and adjust the right part of your workflow.
The Same Prompt Does Not Mean the Same Input
This is the first thing to understand.
When you type a prompt such as:
Change the background to a modern café while keeping the person unchanged.
The AI isn’t looking at those words alone.
If you’re editing an image, it is also looking at the uploaded photograph.
The photograph contains information such as:
- Subject position
- Facial features
- Lighting
- Clothing
- Background
- Camera angle
- Image quality
- Shadows
- Colors
- Depth
- Existing objects
So even a tiny difference in the source image can affect the result.
This is why copying the exact same prompt doesn’t necessarily reproduce the exact same image.
AI Image Generation Has an Element of Randomness
One of the biggest reasons for different results is randomness.
Generative AI doesn’t simply follow a fixed set of instructions like a traditional photo-editing filter.
It generates an output based on probabilities.
You can think of it like asking an artist to draw the same scene twice using the same description.
The artist understands the request both times, but the drawings won’t be pixel-for-pixel identical.
AI image generation works in a similar broad sense.
The system can make different choices about:
- Hair strands
- Lighting
- Background objects
- Clothing folds
- Facial details
- Colors
- Composition
- Texture
Even when your wording stays exactly the same.
What Is a Seed?
If you’ve explored advanced AI image-generation tools, you may have come across the term seed.
A seed is essentially a starting point for the generation process.
When other important settings remain the same, using the same seed can sometimes make it possible to reproduce or closely reproduce a result.
But there’s an important catch.
Not every AI image tool exposes seed controls.
Some applications handle this process internally and don’t give users access to the value.
So if you’re using a consumer-facing editor and can’t find a seed option, that doesn’t mean you’re doing something wrong.
The tool simply may not expose that level of control.
Why Seed Alone Doesn’t Guarantee Identical Results
Even when a tool supports seeds, a seed isn’t a magical “save this exact image” button.
Other factors can matter too.
For example:
- The AI model may change
- The model version may be updated
- Settings may change
- The source image may differ
- The prompt may be interpreted differently
- Image-processing steps may change
So reproducibility depends on the whole workflow, not just one number.
This is one reason professional workflows often document more than just the prompt.
The AI Model Makes a Huge Difference
Two different AI image models can interpret exactly the same sentence differently.
Imagine using:
Make the photograph look like it was captured during golden hour.
One model might create warm orange sunlight.
Another might produce softer, neutral evening light.
A third might dramatically change the sky and background.
None of those outputs necessarily mean the prompt is wrong.
The model has its own understanding of:
- Lighting
- Photography
- Composition
- Color
- Human appearance
- Materials
- Environments
That’s why copying a prompt from someone else’s workflow doesn’t guarantee that you’ll get their result.
The prompt is only one part of the process.
The Reference Image Can Change Everything
When editing an existing photograph, the reference image is often more influential than people realize.
Consider two photographs of the same person.
In one:
- They are standing outdoors
- The sunlight is coming from the side
- Their hair is clearly visible
In the other:
- They are indoors
- The face is partly shadowed
- Their hair blends into the background
Use the same editing instruction on both, and the results may be completely different.
The AI has different visual information to work with.
This is why a good prompt cannot always rescue a poor reference image.
Source Image Quality Matters
A low-resolution photograph gives the AI less reliable information.
For example, imagine trying to change someone’s shirt color when the original shirt is only a few dozen pixels wide.
There simply isn’t much detail available.
The AI may have to estimate:
- Edges
- Fabric texture
- Folds
- Color boundaries
With a high-resolution source, those boundaries may be much clearer.
This doesn’t mean every edit requires an extremely large image.
It simply means that better source information generally gives the model more to work with.
Lighting Changes How AI Interprets Your Prompt
Lighting is another major variable.
Suppose your prompt says:
Change the jacket to dark green.
A jacket photographed in bright sunlight might have:
- Strong highlights
- Deep shadows
- Warm reflections
The same jacket photographed indoors might have:
- Soft shadows
- Cooler light
- Less contrast
The AI has to determine what “dark green” should look like under those conditions.
So you may get slightly different shades even when the wording is identical.
This is why color-editing prompts work better when they respect the existing lighting instead of demanding a perfectly flat color.
Composition Can Influence the Result
Where the subject is located in the frame also matters.
A person standing in the center gives the AI a different visual context than someone standing at the edge.
For example, if you ask the AI to expand the image, it needs to predict what belongs outside the existing frame.
There isn’t one guaranteed answer.
It may extend:
- A wall
- Trees
- Buildings
- Sky
- Furniture
- Road
based on what it thinks fits the scene.
For composition-related work, understanding how to improve photo composition with AI can help you approach these edits more deliberately.
Why Background Changes Are Especially Unpredictable
Background replacement gives AI a lot of creative freedom.
If you say:
Put me in a luxury hotel.
You haven’t specified:
- Country
- Architecture
- Interior style
- Lighting
- Camera angle
- Time of day
- Distance from the subject
The AI has to make those decisions itself.
One generation might create a modern lobby.
Another might create a classic hotel interior.
A third might produce something that looks more like a luxury apartment.
If you want more consistent results, you need to reduce the number of decisions you’re leaving to the model.
Specific Prompts Reduce Unnecessary Interpretation
This doesn’t mean your prompts need to become enormous.
In fact, extremely long prompts can sometimes become difficult to manage.
What matters is including the information that actually affects the result.
Instead of:
Make the background better.
Try:
Replace the background with a quiet modern café interior, photographed from the same camera position, with soft window light and realistic depth while keeping the person and original perspective unchanged.
The second instruction gives the AI much less room to guess.
But More Words Don’t Always Mean Better Results
This is another common misunderstanding.
People sometimes believe that adding hundreds of words will force AI to follow every instruction perfectly.
That’s not necessarily true.
A long prompt can contain:
- Contradictory instructions
- Unnecessary adjectives
- Repeated requirements
- Too many creative directions
For example:
cinematic, ultra cinematic, dramatic cinematic, professional cinematic, extremely cinematic…
None of these necessarily provides useful information.
A better prompt describes the actual visual requirements.
Specificity is more useful than word count.
Why Adding “Don’t Change My Face” Isn’t Always Enough
You’ve probably seen prompts containing phrases like:
Don’t change my face.
This is useful, but it isn’t a guarantee.
If the AI is reconstructing a large portion of the image, it may still alter facial details.
A stronger instruction describes what should be preserved:
- Facial structure
- Eyes
- Nose
- Lips
- Expression
- Skin tone
- Hairstyle
- Age appearance
The more relevant the preservation instruction is to the requested edit, the more useful it becomes.
For realistic editing, our guide on how to make AI-edited photos look realistic covers many of these preservation principles in greater detail.
Why AI Sometimes Changes Things You Never Mentioned
This can be frustrating.
You ask for a background change, but the person’s clothes look different.
You ask for lighting correction, but the face changes.
You ask for a color adjustment, but the entire image gets a new color grade.
Why?
Because AI doesn’t necessarily understand your request as a traditional editing command with a perfectly isolated selection.
It is interpreting the image as a visual scene.
If the requested change affects the scene’s appearance, the model may make related adjustments that it believes will produce a coherent result.
That can be helpful creatively.
It’s less helpful when you want strict preservation.
Selective Editing Can Improve Consistency
If your tool supports masking, brushing, region selection, or similar controls, use them when possible.
Suppose you only want to change a shirt.
Editing the entire image gives the model permission to reconsider the whole scene.
Selecting the shirt gives it a much narrower problem.
This can reduce unwanted changes to:
- Face
- Hair
- Background
- Skin
- Hands
It won’t eliminate mistakes completely, but it gives the model a clearer editing boundary.
Why Small Changes Are Easier to Reproduce
There’s a practical reason experienced editors often make changes in stages.
Imagine two workflows.
Workflow A
One request:
Change my clothes, hairstyle, background, lighting, camera angle and color grading.
Workflow B
First change the clothing.
Check the result.
Then adjust the background.
Check again.
Then make a small lighting correction.
Workflow B gives you more control.
If something goes wrong, you know which edit caused it.
This is especially useful when you’re trying to create multiple versions of the same image.
Creating Consistent Images for Instagram
Consistency becomes more important when you’re making a series of social-media images.
For example, you might want:
- The same person
- Similar lighting
- Similar framing
- Similar colors
- Different locations
Using a completely different prompt every time can produce noticeably different results.
Instead, create a base editing instruction that defines what should remain consistent.
Then change only the variable part.
For example:
Keep consistent:
- Subject appearance
- Camera style
- Framing
- Color treatment
- General lighting
Change:
- Location
- Outfit
- Pose
This approach gives you a better chance of creating a recognizable visual series.
Keep a Master Prompt
If you’re repeatedly creating similar images, don’t rewrite the whole instruction from memory every time.
Keep a master version.
For example:
Preserve the subject’s facial features, body proportions, natural skin tone and recognizable appearance. Maintain realistic photography, natural lighting and believable textures.
Then add the specific request underneath it.
This creates a consistent foundation.
You can modify the variable part without accidentally removing an important preservation instruction.
Keep Track of Your Successful Results
If you create an image that looks particularly good, save more than just the final image.
If available, record:
- AI tool
- Model
- Prompt
- Reference image
- Aspect ratio
- Important settings
- Seed
- Date/version
You don’t always need all of these.
But the more information you keep, the easier it becomes to reproduce a similar result later.
This is especially useful for creators who produce content regularly.
Aspect Ratio Can Change the Composition
A prompt can produce different-looking results simply because the image dimensions changed.
A portrait requested in:
1:1
has a different compositional problem from one requested in:
4:5
or:
16:9
The available space changes.
The subject may be positioned differently.
The AI may also have to invent more background information in wider formats.
So if you’re trying to reproduce an earlier result, don’t change the aspect ratio casually.
Why Reference Images and Prompts Work Together
Think of the process like this:
Reference image = what the AI starts with
Prompt = what you want changed
Model = how the request gets interpreted
Generation process = how the final image is produced
Changing any one of these can change the result.
That’s why saying “I used the exact same prompt” doesn’t necessarily mean you used the exact same workflow.
What You Can Control and What You Can’t
This is probably the most useful way to think about AI image editing.
You can usually control:
- Your source image
- Your instructions
- Requested changes
- Preservation requirements
- Image dimensions
- Tool/model selection
- Editing area, when supported
- Some generation settings
You may not fully control:
- Internal model interpretation
- Random generation choices
- Model updates
- Hidden processing
- Exact reconstruction of missing details
Understanding this difference prevents unrealistic expectations.
Why Regenerating the Same Prompt Can Actually Help
Different results aren’t always bad.
Suppose your first generation has:
- Excellent face
- Poor background
The second has:
- Better background
- Slightly worse lighting
The third may have the best overall balance.
That’s normal for generative workflows.
Instead of treating every variation as a failure, you can use multiple generations to explore the possibilities.
The trick is knowing when to stop.
If one version already looks natural, constantly regenerating it can eventually make the result worse.
When You Should Rewrite the Prompt
Don’t rewrite your entire prompt after every failed generation.
First identify what actually went wrong.
If the background is wrong
Change the background description.
If the face changes
Strengthen the preservation instructions or use selective editing.
If the color is wrong
Describe the desired color more precisely and mention existing lighting.
If the composition is wrong
Specify camera position, framing or subject placement.
If the image looks artificial
Reduce unnecessary style instructions and prioritize natural texture and lighting.
This is much more efficient than starting from zero every time.
A Simple Troubleshooting Example
Imagine you want to change a person’s shirt from white to black.
Your first result changes the shirt correctly, but the person’s skin also becomes darker.
Don’t immediately create a completely new prompt.
Identify the problem:
The requested color change affected the surrounding skin.
Now refine the instruction:
Change only the shirt fabric from white to natural black. Preserve the person’s original skin tone, face, hands, hairstyle, background, lighting and clothing shape. Keep the existing fabric folds and realistic highlights.
You’ve addressed the actual problem.
This is how prompt refinement should work.
Why “Same Prompt, Different Result” Is Actually Normal
Once you understand the process, the behavior becomes less mysterious.
AI isn’t a traditional image filter where:
Input + setting = identical output
Instead, it’s closer to:
Input image + instructions + model + generation process + settings = output
Change one part, and the result can change.
Sometimes even when you don’t intentionally change anything, the generation process can still produce a variation.
That’s simply part of working with generative image technology.
How to Get More Consistent AI Image Results
If consistency matters, keep your workflow as stable as possible.
Use:
- The same source image
- The same AI tool
- The same model when possible
- The same aspect ratio
- Similar settings
- A stable base instruction
- The same preservation requirements
- Selective editing where available
Then change only the element you actually want to experiment with.
This won’t guarantee identical images, but it can make the differences much more manageable.
One Important Lesson for Beginners
Don’t assume that a bad result automatically means your prompt is bad.
Sometimes the problem is the photograph.
Sometimes it’s the model.
Sometimes it’s the requested change.
Sometimes the AI simply made a different generation choice.
Learning to identify the cause is more valuable than collecting hundreds of “perfect prompts.”
That’s also why understanding the fundamentals of AI photo editing prompts is more useful than blindly copying prompts from social media.
Final Thoughts
The reason the same AI prompt gives different results is that generative image editing isn’t a completely deterministic process.
Your prompt matters, but it works together with the reference image, AI model, image quality, composition, lighting, aspect ratio, settings and generation process.
Once you understand that, inconsistent results become easier to troubleshoot.
Instead of repeatedly adding words to a prompt, look at the actual problem.
Did the reference image provide enough information?
Did the AI have too much creative freedom?
Was the editing area too broad?
Did the model interpret the requested change differently?
Those questions will usually take you closer to a good result than simply writing a longer prompt.
And that’s the bigger lesson with AI image editing: better results don’t always come from saying more. They often come from understanding what the tool is actually doing and giving it a more controlled job.






