

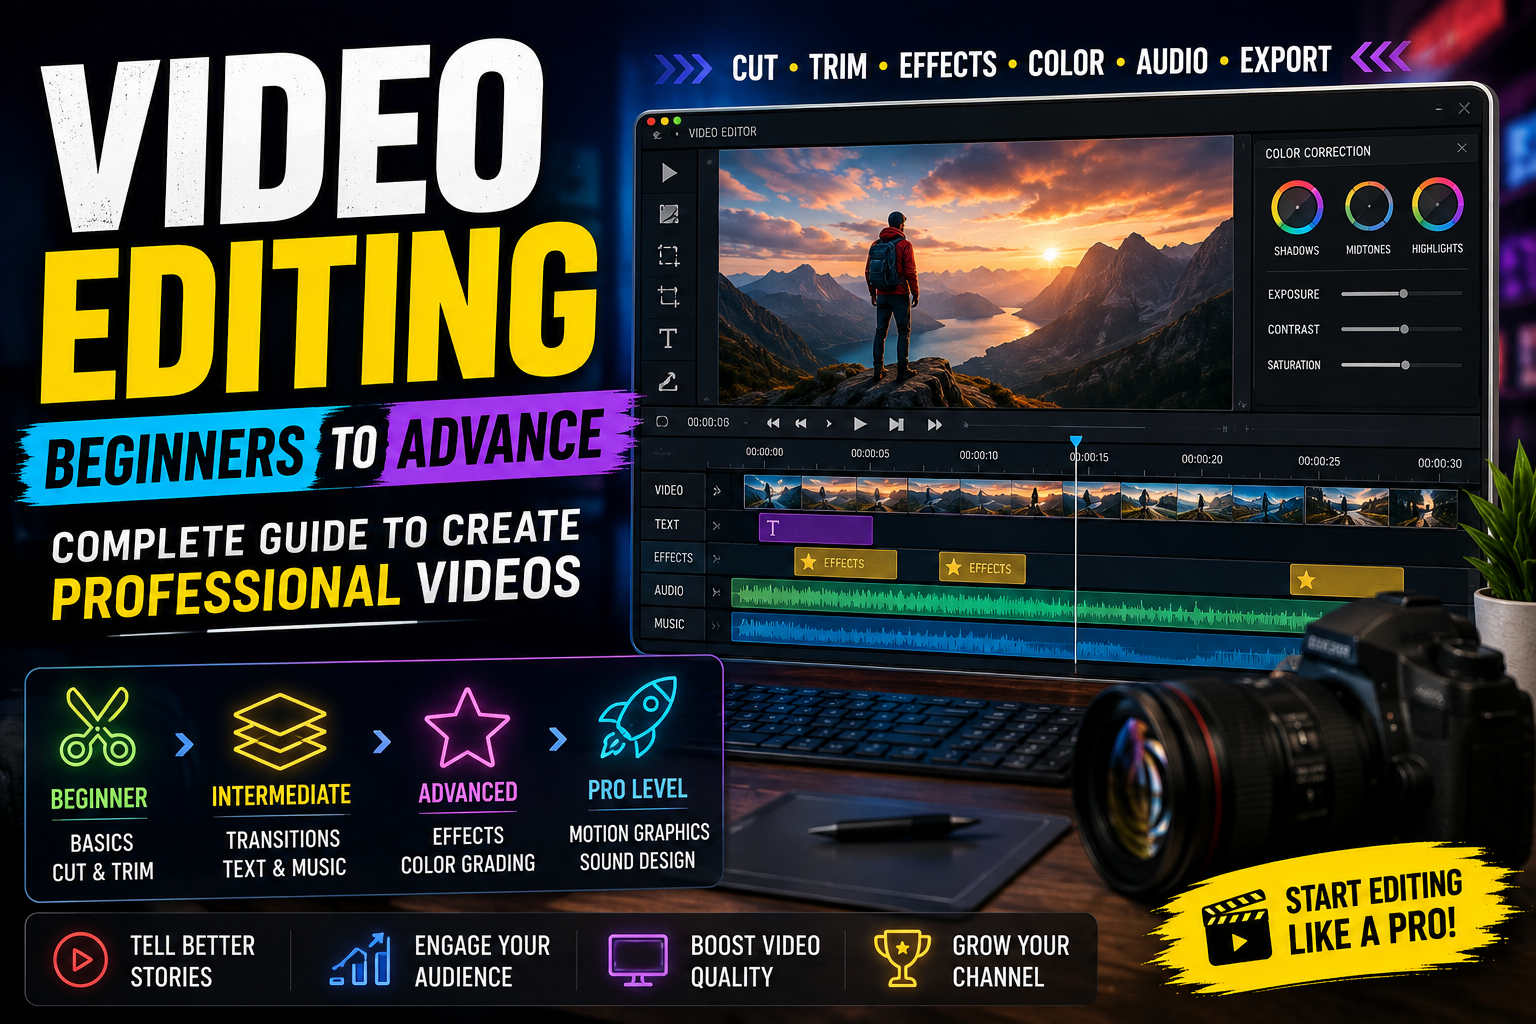
Video editing can look complicated when you first open an editing app. You see timelines, layers, transitions, keyframes, color settings, audio controls and dozens of other options. It is easy to think that you need professional skills before you can create a good video.
The reality is different.
You can learn video editing step by step, starting with simple cuts and gradually moving toward advanced techniques such as keyframing, color correction, sound design, masking and motion graphics.
Whether you want to edit Instagram Reels, YouTube videos, short films, tutorials or personal videos, learning the fundamentals will help you work with almost any editing software.
This guide takes you from beginner to advanced video editing, with practical techniques you can start using immediately.
What Is Video Editing?
Video editing is the process of taking recorded video clips, audio, images and other elements and combining them into a finished video.
Editing can include:
- Cutting unwanted footage
- Arranging clips
- Adding music
- Improving audio
- Adding text
- Using transitions
- Adjusting colors
- Adding visual effects
- Creating animations
- Removing mistakes
- Changing video speed
- Exporting the final video
Good editing isn’t about adding an effect to every clip. It is about presenting information or telling a story in a way that keeps the viewer interested.
Part 1: Video Editing for Beginners
If you’re completely new to editing, don’t worry about learning every feature at once.
Start with the basics.
1. Choose a Video Editing Software
There are many video editing applications available for phones and computers.
Beginners often prefer apps with a simple interface, while advanced editors may want software with more detailed control over audio, color, effects and timelines.
When choosing an editor, consider:
- Your device
- Your experience level
- The type of videos you create
- Available editing features
- Export options
- Ease of use
Don’t spend too much time looking for the “perfect” software.
The important thing is to learn editing concepts because most editors use similar ideas, even if their interfaces are different.
2. Understand the Timeline
The timeline is where your video is assembled.
Think of it as the workspace where your clips are arranged from beginning to end.
A basic timeline can contain:
Video Track → Main video clips
Audio Track → Voice or music
Text Layer → Titles and captions
Effects → Visual adjustments and animations
Once you understand how layers and tracks work, editing becomes much easier.
3. Import Your Footage
Start by importing your recorded videos, images, music and other assets into your editing project.
Before editing, organize your files.
For example:
My Video Project
├── Video Clips
├── Voiceover
├── Music
├── Images
├── Graphics
└── Export
Keeping your files organized becomes especially important when working on longer projects.
4. Learn to Cut and Trim Clips
Cutting is probably the most important beginner editing skill.
Remove:
- Mistakes
- Long pauses
- Unnecessary sections
- Repeated sentences
- Shaky footage
- Empty moments
A simple cut can often improve a video more than an expensive visual effect.
Don’t be afraid to remove footage.
A shorter video with better pacing can be more enjoyable than a long video containing unnecessary sections.
5. Arrange Clips in the Right Order
Once you have removed unwanted sections, arrange your clips so the video makes sense.
For a simple tutorial, the structure might be:
Introduction → Problem → Solution → Demonstration → Conclusion
For a short social media video:
Hook → Main Point → Example → CTA
The exact structure depends on the type of video, but having a clear sequence makes editing easier.
Part 2: Improving Your Video
Once you understand cutting and arranging clips, start improving the overall presentation.
6. Add Background Music
Music can influence the mood of a video.
For example:
- Calm music can work for tutorials
- Energetic music can suit fast-paced content
- Cinematic music can create a dramatic feeling
- Minimal music can work well behind narration
Don’t let music overpower the main voice.
If viewers struggle to understand the dialogue because the music is too loud, reduce the music volume.
7. Learn Basic Audio Editing
Good audio is one of the most important parts of a video.
Even a visually impressive video can feel unprofessional when the voice is difficult to understand.
Pay attention to:
- Voice volume
- Background noise
- Music level
- Sudden volume changes
- Silence between clips
Use audio fades when appropriate so music and sound effects don’t start or stop abruptly.
8. Add Text and Captions
Text can make videos easier to understand, especially when people watch without sound.
Use text for:
- Titles
- Key points
- Names
- Instructions
- Captions
- Important information
Keep your text readable.
Avoid using too many fonts, animations and colors in the same video.
A simple consistent text style usually looks more professional.
9. Use Transitions Carefully
Transitions connect one clip to another.
Common transitions include:
- Cut
- Fade
- Dissolve
- Slide
- Zoom
- Wipe
You don’t need a transition between every clip.
In many professional videos, a simple cut is used most of the time.
Use transitions when they improve the flow or communicate a change in location, time or subject.
Part 3: Intermediate Video Editing
Once you are comfortable with basic editing, you can start using more advanced techniques.
10. Improve Your Video Pacing
Pacing refers to how quickly the video moves from one moment to another.
Fast pacing can create energy.
Slower pacing can create a calm or emotional feeling.
To improve pacing, look for moments where:
- Nothing important is happening
- A sentence takes too long
- The same information is repeated
- The viewer is waiting unnecessarily
- The video changes too quickly without a reason
Good pacing isn’t necessarily fast.
It is about giving every moment an appropriate amount of time.
11. Use B-Roll
B-roll is additional footage used alongside the main footage.
For example, imagine you’re making a video about smartphone photography.
Your main footage might show you talking to the camera.
B-roll could show:
- The phone
- Camera settings
- Taking photographs
- Editing an image
- Sample results
B-roll makes videos more visually interesting and can hide cuts in talking-head footage.
12. Use Keyframes
Keyframes allow you to change properties over time.
For example, you can create a slow zoom by setting:
Beginning: Scale 100%
End: Scale 110%
The editor then creates the movement between those points.
Keyframes can control:
- Position
- Scale
- Rotation
- Opacity
- Effects
- Audio levels
Once you understand keyframes, your editing possibilities expand significantly.
13. Learn Speed Ramping
Speed ramping changes the speed of a clip during playback.
For example:
Normal → Fast → Slow → Normal
This technique can work well for action sequences, sports footage, travel videos and cinematic edits.
However, speed effects should support the footage rather than distract from it.
14. Use Masks
Masking allows you to control which parts of an image or video layer are visible.
Masks can be useful for:
- Revealing objects
- Creating transitions
- Isolating subjects
- Combining clips
- Creating visual effects
Masking is an important step toward more advanced editing because it gives you greater control over individual areas of the frame.
Part 4: Advanced Video Editing
Once you are comfortable with the basics, you can start working on professional-level techniques.
15. Learn Color Correction
Color correction is about making footage look balanced and natural.
You may need to adjust:
- Exposure
- Brightness
- Contrast
- White balance
- Highlights
- Shadows
- Saturation
The goal is to make the footage consistent before applying a particular creative style.
For example, if one clip looks very warm and another looks extremely cool, color correction can help them feel like they belong in the same video.
16. Understand Color Grading
Color grading is different from basic correction.
Color grading focuses more on creating a specific visual mood or style.
For example, you might want:
- Warm cinematic tones
- A cool dramatic look
- Soft pastel colors
- High-contrast visuals
- A vintage appearance
Don’t rely only on presets.
Learn how changes in contrast, saturation and color affect the mood of the footage.
17. Improve Sound Design
Advanced editing isn’t only about visuals.
Sound design can make a major difference.
You can use:
- Ambient sounds
- Footsteps
- Whooshes
- Clicks
- Background atmosphere
- Impact sounds
- Room tone
For example, a simple text animation can feel more engaging when a subtle sound effect is synchronized with its movement.
The sound should support the visual rather than overwhelm it.
18. Learn Motion Graphics
Motion graphics combine graphic design and animation.
You can animate:
- Titles
- Logos
- Icons
- Charts
- Shapes
- Lower thirds
- Social media elements
Start with simple movements.
A title that smoothly moves into position can look better than a complicated animation with too many effects.
19. Use Green Screen and Chroma Key
Green-screen editing allows you to remove a specific background color and replace it with another video or image.
The basic process is:
Record Subject → Select Green Color → Remove Background → Add New Background
Good lighting is important when shooting green-screen footage.
Avoid wearing clothing that is similar to the background color because the software may accidentally remove parts of the subject.
20. Learn Compositing
Compositing means combining multiple visual elements into one final shot.
For example, you could combine:
- A person
- A generated background
- Text
- Light effects
- Smoke
- Additional graphics
The key to realistic compositing is consistency.
Lighting, perspective, scale, color and shadows should make the elements appear as if they belong together.
Part 5: Editing for Different Platforms
The editing approach should change depending on where you’re publishing the video.
Instagram Reels and Short Videos
Short-form videos usually benefit from:
- A strong opening
- Quick pacing
- Captions
- Vertical framing
- Clear visuals
- Short sections
Don’t waste the first few seconds explaining something that could be communicated immediately.
YouTube Videos
Long-form YouTube videos can use more detailed storytelling.
A common structure is:
Hook → Introduction → Main Content → Examples → Conclusion
B-roll, graphics, chapters and clear sections can make longer videos easier to follow.
YouTube Shorts
Short vertical videos need a clear idea and efficient editing.
Remove unnecessary pauses and make sure the viewer understands the topic quickly.
Tutorial Videos
Tutorials should prioritize clarity over flashy effects.
Use:
- Screen recordings
- Zooms
- Highlight boxes
- Captions
- Arrows
- Step-by-step sections
The viewer should always know what they are supposed to do next.
Part 6: A Professional Video Editing Workflow
A structured workflow can save a lot of time.
Step 1: Organize Your Files
Put videos, audio, images and graphics into separate folders.
Step 2: Review Your Footage
Watch the clips before starting the final edit.
Mark the sections you want to keep.
Step 3: Create a Rough Cut
Place the important clips on the timeline.
Don’t worry about effects yet.
Focus on the story and structure.
Step 4: Improve the Pacing
Remove unnecessary pauses and repeated sections.
Make sure every clip has a purpose.
Step 5: Add B-Roll
Use supporting footage to make the video more visually interesting.
Step 6: Add Audio
Clean up the voice, adjust music and add appropriate sound effects.
Step 7: Add Text and Graphics
Add titles, captions and other visual information.
Step 8: Color Correct
Make the footage look consistent.
Step 9: Add Creative Effects
Use transitions, animations and other effects only where they improve the video.
Step 10: Watch the Entire Video
Don’t judge the edit only by individual clips.
Watch the complete video from beginning to end.
Look for moments that feel too slow, confusing or repetitive.
Step 11: Export
Choose the appropriate resolution, frame rate and file format for your platform.
Common Video Editing Mistakes
Using Too Many Effects
Adding effects doesn’t automatically make a video professional.
Too many effects can distract viewers from the actual content.
Making Every Cut Too Fast
Fast editing isn’t always better.
Give viewers enough time to understand what’s happening.
Ignoring Audio
Viewers may tolerate a simple visual style, but poor audio can make a video difficult to watch.
Using Random Fonts
Choose a small number of fonts and use them consistently.
Overusing Transitions
A simple cut is often enough.
Not Watching the Final Export
Always watch the exported video before publishing it.
Sometimes an export can reveal problems that weren’t obvious during editing.
How Long Does It Take to Learn Video Editing?
The answer depends on how often you practice and what type of editing you want to learn.
A beginner can learn basic cutting, trimming, text and music relatively quickly.
Intermediate skills such as keyframes, masking and color correction require more practice.
Advanced techniques such as compositing, motion graphics and professional sound design can take much longer.
You don’t need to master everything before publishing your first video.
A better approach is:
Learn → Practice → Edit → Review → Improve
Repeat this process with every project.
A Simple 30-Day Video Editing Learning Plan
If you’re starting from zero, you can follow a simple progression.
Week 1: Basics
Learn:
- Importing footage
- Timeline
- Cutting
- Trimming
- Basic text
- Music
- Exporting
Week 2: Better Editing
Practice:
- Pacing
- B-roll
- Captions
- Audio adjustment
- Basic transitions
- Video organization
Week 3: Intermediate Skills
Learn:
- Keyframes
- Speed changes
- Masks
- Color correction
- Advanced text animation
Week 4: Advanced Practice
Explore:
- Color grading
- Motion graphics
- Sound design
- Green screen
- Compositing
- Advanced animations
At the end of the month, edit a complete project using the techniques you’ve learned.
Frequently Asked Questions
Is video editing difficult for beginners?
It can feel complicated at first because editing software contains many tools. Start with cutting, trimming, audio and text before moving to advanced features.
Can I learn video editing on a phone?
Yes. Modern mobile editing apps provide many features suitable for short videos, social media content and basic YouTube editing.
Should beginners learn advanced effects first?
No. Learn the fundamentals first. Good cuts, pacing and audio are more important than complicated visual effects.
What is the most important video editing skill?
There isn’t one single skill, but storytelling, pacing and clean cutting are among the most important foundations.
How can I make my videos look professional?
Focus on clean cuts, good audio, consistent colors, readable text, appropriate music and a clear story. Professional editing is more about making good decisions than adding lots of effects.
Should I use transitions in every video?
No. Use transitions when they serve a purpose. A simple cut is often the cleanest option.
Final Thoughts
Learning video editing from beginner to advanced is a gradual process. You don’t need to understand every tool on your first day.
Start by learning how to cut clips, arrange a timeline and improve audio. Once those skills become comfortable, move on to B-roll, captions, keyframes, masking and color correction. Later, you can explore motion graphics, compositing, green-screen work and advanced sound design.
Most importantly, practice by making real projects.
Don’t wait until you know everything before creating videos. Every project gives you an opportunity to identify what you can improve next.
The more you edit, review and experiment, the more naturally the editing process will start to feel.






