

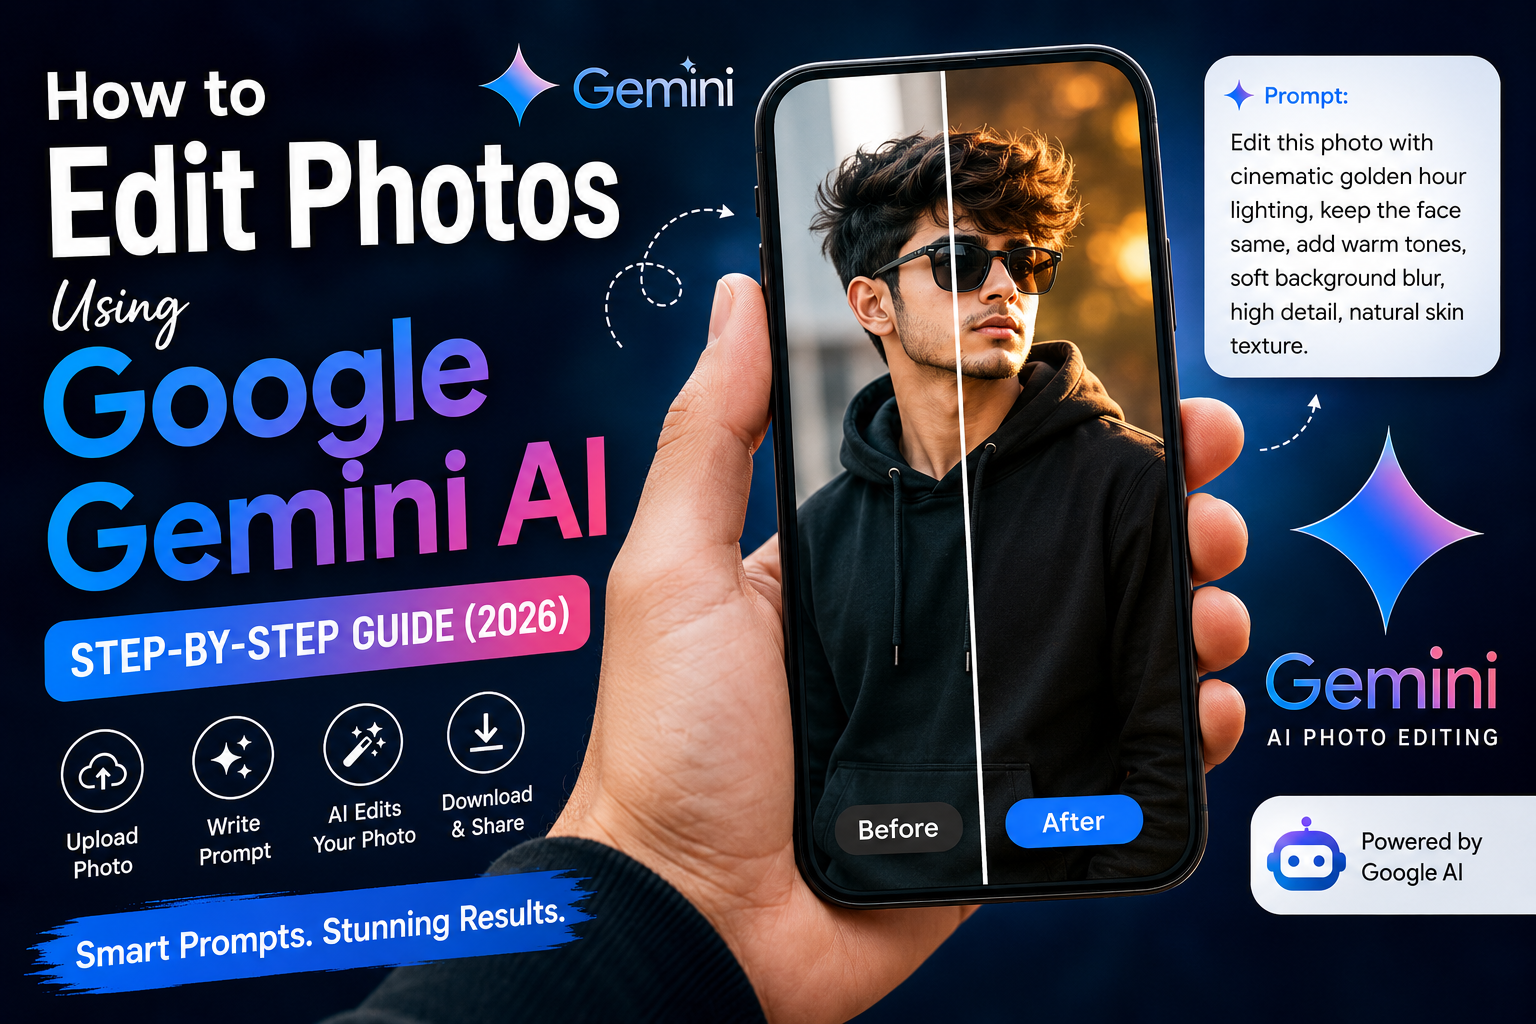
AI photo editing has become much easier than it used to be. You no longer need to understand complicated editing software just to experiment with a new background, different lighting, a cinematic look, or a creative outfit.
With Google Gemini AI, you can upload a photo and describe the changes you want using normal language. Instead of manually adjusting dozens of settings, you give Gemini clear instructions and let the AI create an edited version based on your request.
However, getting a good result isn’t simply about writing “edit my photo.” Your original image, prompt details, lighting instructions, and the number of changes you request can all affect the final result.
In this guide, you’ll learn how to edit photos using Google Gemini AI, how to write better photo editing prompts, what to do when Gemini changes your face, and how to create more natural-looking edits.
What Is Google Gemini AI Photo Editing?
Google Gemini is an AI assistant from Google that supports a variety of text and multimodal tasks. Depending on the Gemini experience and features available to you, image generation and editing capabilities can be used to create or modify visual content.
The basic idea is straightforward.
You provide an image and explain what you want changed. The AI interprets those instructions and generates an updated image.
For example, instead of manually replacing a background, you might write:
Replace the background with a realistic mountain landscape during golden hour. Keep the person, face, hairstyle, clothing, pose, and body proportions unchanged. Match the new background lighting naturally with the subject.
This gives the AI much more useful information than simply asking it to “change background.”
How to Edit Photos Using Google Gemini AI
Here is a simple step-by-step process you can follow.
Step 1: Open Google Gemini
Open Gemini through Google’s official Gemini website or supported Gemini app.
Sign in with your Google account if required.
The interface and available AI image features may change over time, so the exact buttons you see can vary depending on your device, account, region, and current Gemini version.
Step 2: Choose a Good Original Photo
Before thinking about prompts, start with a good source image.
For portrait editing, try to choose a photograph where:
- Your face is clearly visible.
- The image isn’t heavily blurred.
- Lighting on the face is reasonably good.
- Important parts of the subject aren’t cropped unnecessarily.
- The photo isn’t an extremely compressed screenshot.
AI can improve or recreate many visual elements, but a clear source photo gives it better information to work with.
If your goal is to preserve your appearance, this becomes particularly important.
Step 3: Upload Your Photo
Use the available image attachment or upload option in Gemini and select the photograph you want to edit.
Wait until the image has been attached successfully before entering your instructions.
At this point, think about exactly what you want Gemini to change.
Do you want a different background?
A cinematic lighting effect?
A new outfit?
A professional profile picture?
A traditional look?
Knowing the main goal before writing the prompt makes the next step easier.
Step 4: Write a Detailed Photo Editing Prompt
Now describe your desired edit.
A useful prompt generally explains four things:
Subject preservation + desired change + environment + photography style.
For example:
Edit the uploaded photo into a realistic cinematic portrait. Preserve the person’s facial identity, face shape, hairstyle, skin tone, pose, and natural body proportions. Change the outfit to a clean black shirt and place the subject on a modern city street during golden hour. Add warm directional sunlight, realistic shadows, natural skin texture, shallow depth of field, and professional DSLR-style photography. Keep the result natural and photographic.
This is more specific than:
Make my photo stylish.
The second instruction leaves almost everything for the AI to decide.
Step 5: Generate the Edited Photo
Submit your prompt and allow Gemini to process the request.
Once the image is generated, don’t judge it only by how attractive it looks.
Zoom in and inspect important details.
Check the face, eyes, hands, fingers, hair, clothing, background objects, shadows, reflections, jewelry, and any text that appears in the image.
Generative AI can occasionally create visual inconsistencies that aren’t immediately obvious on a small screen.
Step 6: Refine the Result
Your first generation doesn’t always have to be your final image.
If you like most of the result but one detail is wrong, give Gemini a focused follow-up instruction rather than rewriting everything.
For example:
Keep the current background, outfit, composition, and lighting. Make the facial appearance closer to the uploaded reference photo and maintain natural skin texture. Do not change the hairstyle or pose.
Or:
Keep everything else unchanged. Reduce the background blur slightly and make the lighting softer and more natural.
Focused revisions can be easier for an AI model to interpret than requesting an entirely new transformation every time.
Best Gemini AI Photo Editing Prompt Formula
You don’t need to memorize hundreds of prompts.
A reusable structure can help you create your own.
Simple Prompt Formula
Original subject + what to preserve + what to change + location/background + lighting + photography style + realism instructions
For example:
Edit the uploaded photo of [subject]. Preserve [face/hairstyle/skin tone/pose]. Change [outfit/background]. Place the subject in [location]. Use [lighting style]. Add [photography details]. Keep the final image realistic with natural proportions, skin texture, shadows, and colors.
Once you understand this structure, you can create prompts for many different styles.
10 Google Gemini AI Photo Editing Prompts
Here are some practical examples you can customize.
1. Cinematic Portrait Prompt
Transform the uploaded photo into a realistic cinematic portrait. Preserve the person’s facial identity, hairstyle, skin tone, and natural body proportions. Add a dark modern background with subtle warm lights, soft directional lighting on the face, realistic shadows, detailed skin texture, shallow depth of field, and professional cinematic color grading.
2. Golden Hour Photo Prompt
Edit the uploaded portrait into a natural golden-hour photograph. Keep the person’s face, hairstyle, skin tone, pose, and clothing recognizable. Add warm sunset light from one side, subtle golden highlights around the hair, a softly blurred outdoor background, realistic shadows, natural colors, and DSLR-style depth of field.
3. Instagram Profile Picture Prompt
Create a clean Instagram profile picture from the uploaded photo. Preserve the person’s facial identity and natural appearance. Use a simple dark gradient background, balanced studio lighting, subtle rim light, realistic skin texture, sharp eyes, gentle shadows, and a centered portrait composition suitable for a circular profile picture.
4. Professional Headshot Prompt
Convert the uploaded photo into a realistic professional headshot. Keep the person’s facial identity, skin tone, hairstyle, and natural proportions unchanged. Add smart professional clothing, a clean neutral background, soft studio lighting, realistic skin details, balanced exposure, sharp eyes, and professional portrait photography.
5. Mountain Travel Photo Prompt
Transform the uploaded image into a realistic travel portrait in the mountains. Preserve the person’s face and natural body proportions. Add a scenic mountain valley in the background, soft morning sunlight, atmospheric depth, realistic shadows, detailed clothing textures, natural colors, and professional travel photography.
6. Rainy Night Portrait Prompt
Edit the uploaded image into a cinematic rainy-night portrait. Preserve facial identity and realistic proportions. Place the subject on a wet city street with subtle neon reflections, gentle rainfall, realistic water details, soft atmospheric lighting, natural shadows, shallow depth of field, and cinematic photography.
7. Traditional Indian Portrait Prompt
Transform the uploaded portrait into an elegant traditional Indian look. Preserve the person’s original facial identity, skin tone, hairstyle, and natural proportions. Add tasteful traditional clothing and accessories, warm ambient lighting, realistic fabric texture, soft background blur, natural skin details, and professional portrait photography.
8. Luxury Car Photo Prompt
Edit the uploaded photo into a premium lifestyle portrait beside a modern luxury car. Preserve the person’s facial identity, hairstyle, and body proportions. Add a sophisticated evening environment, realistic car reflections, stylish clothing, soft cinematic lighting, natural shadows, shallow depth of field, and premium editorial photography.
9. Black Shirt Boy Portrait Prompt
Transform the uploaded photo into a stylish portrait of the same person wearing a clean black shirt. Preserve the original face, hairstyle, skin tone, and natural body shape. Add a dark minimal background, subtle side lighting, realistic shadows, natural skin texture, sharp facial details, and professional DSLR-style photography.
10. Soft Outdoor Girl Portrait Prompt
Edit the uploaded photo into an elegant outdoor portrait while preserving the woman’s facial identity, hairstyle, skin tone, and natural proportions. Add soft morning sunlight, a beautiful but realistic outdoor background, subtle hair movement, gentle shadows, natural skin texture, shallow depth of field, and clean editorial photography.
How to Change the Background Using Gemini AI
Background replacement is one of the simplest ways to experiment with an existing photograph.
Instead of writing:
Change my background.
Describe the new environment and tell the AI what should remain untouched.
For example:
Replace only the background with a realistic mountain viewpoint during sunset. Keep the person, facial features, hairstyle, outfit, pose, and body proportions unchanged. Match the background perspective, shadows, and warm sunset lighting naturally with the subject.
Notice the phrase “replace only the background.”
It gives the model clearer boundaries for the requested edit.
You can replace “mountain viewpoint” with a beach, café, city street, rooftop, garden, studio, office, or another appropriate environment.
How to Change Clothes Using Gemini AI
For outfit editing, specify both what should change and what shouldn’t.
For example:
Replace the current outfit with a well-fitted black shirt and dark trousers. Preserve the person’s face, hairstyle, skin tone, pose, hands, and natural body proportions. Make the clothing texture, folds, shadows, and lighting realistic and consistent with the original photograph.
If you simply request “change clothes,” the AI has to make several creative decisions on its own.
Providing the clothing type, color, and style gives you more control.
How to Create a Cinematic Photo in Gemini
“Cinematic” is a popular AI prompt term, but it is also very broad.
A better cinematic prompt explains what makes the image cinematic.
Consider details such as:
- Directional lighting
- Controlled highlights and shadows
- Background depth
- Natural skin texture
- Atmospheric lighting
- Film-inspired color grading
- Realistic composition
For example:
Create a cinematic portrait while preserving the person’s identity. Use soft directional golden light, subtle rim lighting, realistic deep shadows, natural skin texture, shallow depth of field, atmospheric background separation, balanced highlights, and film-inspired color grading.
This provides more visual information than repeatedly adding words such as “ultra cinematic” or “8K.”
How to Stop Gemini AI From Changing Your Face
A common frustration with generative photo editing is facial inconsistency.
You may upload a good portrait, generate an impressive result, and realize the person no longer looks quite the same.
This can happen because generative AI may reconstruct parts of an image rather than simply applying a traditional filter.
Try including instructions such as:
Preserve the original facial identity, face shape, eyes, nose, lips, hairstyle, skin tone, and recognizable facial characteristics. Do not intentionally redesign or beautify the face. Keep the appearance natural and consistent with the uploaded reference image.
This can communicate your goal more clearly, but it is important to understand that no text prompt can guarantee perfect face preservation with every generation.
If identity changes significantly, try reducing the number of requested edits.
For example, edit the background first rather than simultaneously requesting a new background, outfit, hairstyle, pose, lighting, and facial expression.
How to Make Gemini AI Photos Look More Realistic
Realism doesn’t come from adding “8K ultra HD” twenty times.
Instead, describe characteristics found in real photography.
Useful instructions include:
Natural skin texture: prevents the intention of an overly smooth appearance.
Realistic shadows: helps connect the subject to the environment.
Consistent lighting: tells the AI that subject and background should share the same light direction.
Natural body proportions: useful when generating or changing larger parts of the image.
Realistic fabric texture and folds: helpful when editing outfits.
Shallow depth of field: useful for professional portrait-style backgrounds.
Accurate reflections: particularly important for cars, mirrors, glass, and wet streets.
A balanced prompt usually performs better than a long list of unrelated quality buzzwords.
Common Gemini AI Photo Editing Mistakes
1. Using an Extremely Short Prompt
“Make this viral” doesn’t explain what visual result you actually want.
Describe the desired environment, lighting, clothing, and style.
2. Changing Too Many Things at Once
Complex prompts can ask the AI to make several major creative decisions simultaneously.
If consistency matters, make fewer changes at a time.
3. Ignoring the Original Photo Quality
A blurry, heavily compressed source image gives the AI less reliable visual information.
Start with the clearest image available.
4. Overusing Quality Keywords
Words such as “8K,” “HD,” “masterpiece,” and “ultra realistic” aren’t substitutes for useful visual instructions.
Explain the photograph instead.
5. Not Checking the Final Image
Always inspect generated hands, faces, text, reflections, accessories, and background details before publishing.
Gemini AI Prompt: Before vs Better Version
Consider these two approaches.
Basic Prompt
Make my photo cinematic.
Better Prompt
Transform the uploaded image into a realistic cinematic portrait while preserving the person’s facial identity, hairstyle, skin tone, pose, and natural proportions. Add soft golden directional lighting, realistic shadows, subtle background bokeh, natural skin texture, professional portrait depth of field, and film-inspired color grading.
The second prompt gives the AI much clearer visual instructions without becoming unnecessarily complicated.
Can You Use Gemini AI Photos on Instagram?
You can use AI-assisted images for creative social content, provided your use complies with the relevant platform rules, Gemini’s terms, and applicable rights.
It’s also worth thinking about context.
A stylized portrait or clearly creative edit is different from using AI to falsely depict a real event or misleadingly represent another person.
Avoid uploading images you don’t have the right to use, and be especially careful with photos of other people. For commercial uses, check the current terms of the AI service and platform involved.
Tips for Better Instagram AI Photo Edits
If you’re creating photos specifically for Instagram, think about the final format before generating your image.
Vertical compositions generally provide more room for portrait-oriented posts and Reels covers. Keep the subject clearly visible and avoid placing important details too close to the edges if the image might later be cropped.
For profile pictures, ask for a centered composition because Instagram displays profile photos inside a circle.
For Reels covers, leave some clean space around the subject where you can later place readable text.
And rather than making every image extremely dramatic, experiment with natural-looking edits too. A simple portrait with convincing lighting can sometimes look more polished than an image filled with excessive effects.
Frequently Asked Questions
Is Google Gemini AI photo editing free?
Access to Gemini features can vary by account, region, model, and plan. Some capabilities may be available without payment while others can have usage limits or require a paid plan. Check the current Gemini interface for the options available to your account.
How do I edit photos using Google Gemini AI?
Upload a supported image to Gemini, describe exactly what you want to change, and submit the prompt. For better results, specify what should remain unchanged as well as the desired background, outfit, lighting, or photography style.
What is the best Gemini AI photo editing prompt?
There is no single best prompt for every image. A good prompt clearly explains the desired edit while identifying important elements that should be preserved, such as facial identity, hairstyle, skin tone, and body proportions.
Can Gemini change the background of a photo?
When supported by the image-editing experience you’re using, you can request a new background by describing the environment you want and asking the AI to preserve the original subject.
Can Gemini change clothes in a photo?
Depending on the available editing capability, you can request outfit changes by specifying the type, style, and color of clothing while asking the model to preserve the person’s identity and proportions.
Why does Gemini change my face?
Generative AI can reconstruct visual details while creating an edited image. This may result in facial differences. Using a clear source image, requesting fewer changes, and explicitly asking for identity preservation can help communicate your intended result.
Can I use Gemini AI photo editing prompts for Instagram?
Yes, you can create prompts specifically for Instagram-style portraits, profile pictures, travel photographs, Reels covers, and other creative edits, subject to the relevant service and platform rules.
Final Thoughts
Learning how to edit photos using Google Gemini AI is less about memorizing hundreds of complicated prompts and more about learning how to describe the result you want.
Start with a clear original photograph. Tell the AI what it should preserve, explain exactly what should change, describe the lighting and environment, and avoid combining too many unrelated transformations into one request.
If your first result isn’t perfect, refine one element at a time.
Once you understand this process, the same basic prompt structure can be adapted for cinematic portraits, Instagram profile pictures, traditional looks, professional headshots, travel photos, outfit changes, background replacements, and many other editing styles.
For more inspiration, explore our 50+ Best AI Photo Editing Prompts for Instagram (2026) and customize the prompts according to your own photos and creative style.






